

Step by step guide on how to install the BC Retro Front Mount Turn Signals on a Triumph Bobber and Bobber Black.
Applicable SKUs
BC501-105-BS
Fitment
Triumph Bonneville Bobber (2017+)
Triumph Bonneville Bobber Black (2017+)
Last Updated
11-27-2019
WARNING |
|
It is recommended that this kit be installed by a certified Triumph technician, following the Triumph service manual to aid in proper fitting. Verify all torque specs in the Triumph service manual. You must know how to remove and replace stock components in order to install this product otherwise have it installed by a professional mechanic. Keep all stock parts some components may be necessary to install your new British Customs product depending on the application. Read through all instructions before beginning installation. Always properly support the vehicle with a stand and/or lift when servicing or performing any work. Unstable vehicles my present dangerous conditions and may cause property damage and/or personal injury Laws concerning this product vary from state/province to state/province. Your state/province may prohibit its use on public roads or restrict its use to novelty, who use, off-road areas, or race facility areas only. In some states/provinces, off-road uses are also prohibited. The manufacturer and retailer assume no responsibility for any use or application of this product in violation of any applicable law. Before installing this product, check your state/province and |
REMOVAL
1 - Properly support the vehicle with a stand and/or lift when servicing or performing any work. Unstable vehicles my present dangerous conditions and may cause property damage and/or personal injury
2 - Disconnect and remove the battery
| WARNING: Make sure the battery terminals do not touch the frame of your motorcycle as this may cause a short circuit or spark. which may cause property damage and/or personal injury |
3 - Remove the gas tank
4 - Release the (2) fasteners that secure the cable guide on the left-hand side of the frame. Note the routing of the front direction indicator harness for installation.

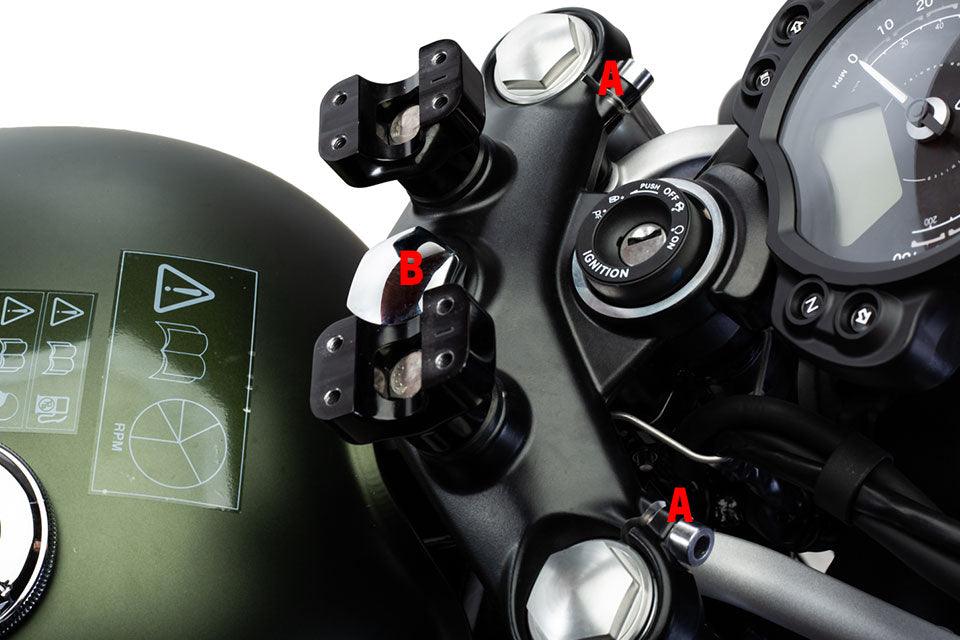
5 - Disconnect the factory turn signals from the main harness. Located on the headstock of the bike and remove the rubber band securing them to the clutch cable.
Note: The routing of the turn signal wires and the position of the rubber band for installation.

6 - Remove fastener from the left & right factory turn signal mount.

7 - Remove the left & right factory turn signal and factory turn signal mount by spreading the turn signal mount.

8 - Install left & right BC Retro Turn Signals onto the factory turn signal mount using the supplied hardware. When installed the pinch bolt screw should be facing down.
Note: The BC Retro Turn Signal pinch bolt will have to be loosened to gain access to the mounting screws

9 - Install the left & right BC Retro Turn Signal on to the fork. Route the wires on the inside of the Factory Turn Signal Mount.

10 - Position the BC Retro Turn Signal and factory turn signal mount and tighten the fastener to 5 Nm

11 - Route the direction indicator harness as noted in Step 4 and connect it to the main harness within the headstock. The main harness right-hand direction indicator is marked with red tape.

12 - Install the rubber band securing the harness to the clutch cable
13 - Install the cable guide with (2) Fasteners and tighten to 3 Nm
14 - Install and connect the battery and test turn signals. If the taillight and /or brake light do not function properly verify the connection and check fuses. If you need additional support call 877-999-BRIT for Support
15 - Install the gas tank
Leave a comment
All comments are moderated before being published.
This site is protected by hCaptcha and the hCaptcha Privacy Policy and Terms of Service apply.