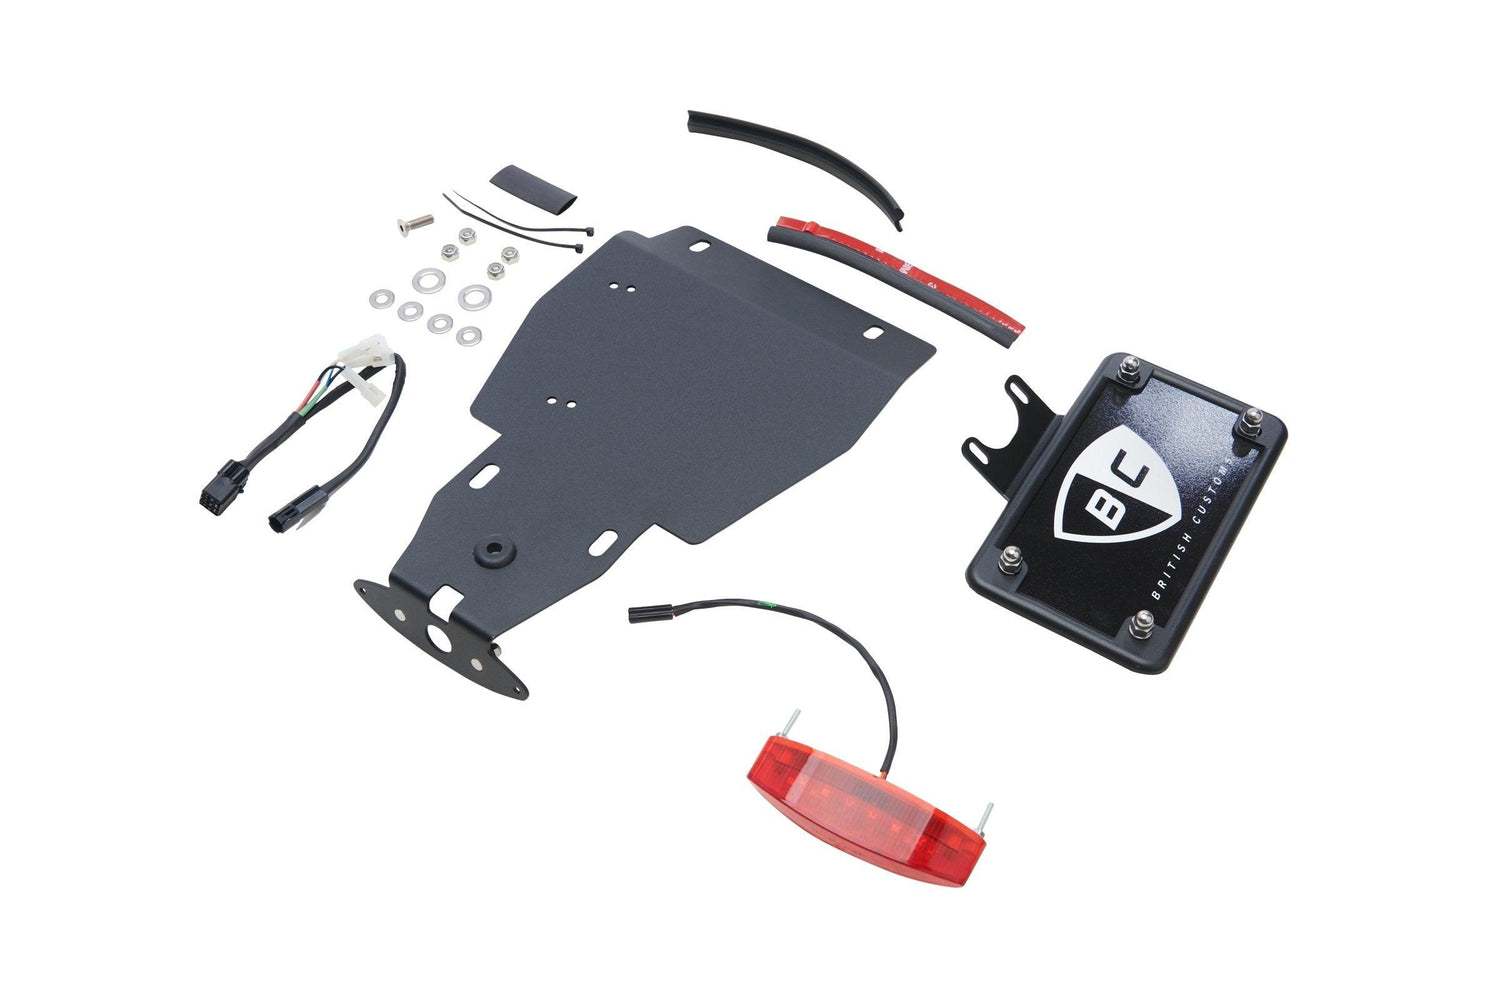
Available for purchase here: Fender Eliminator Kit
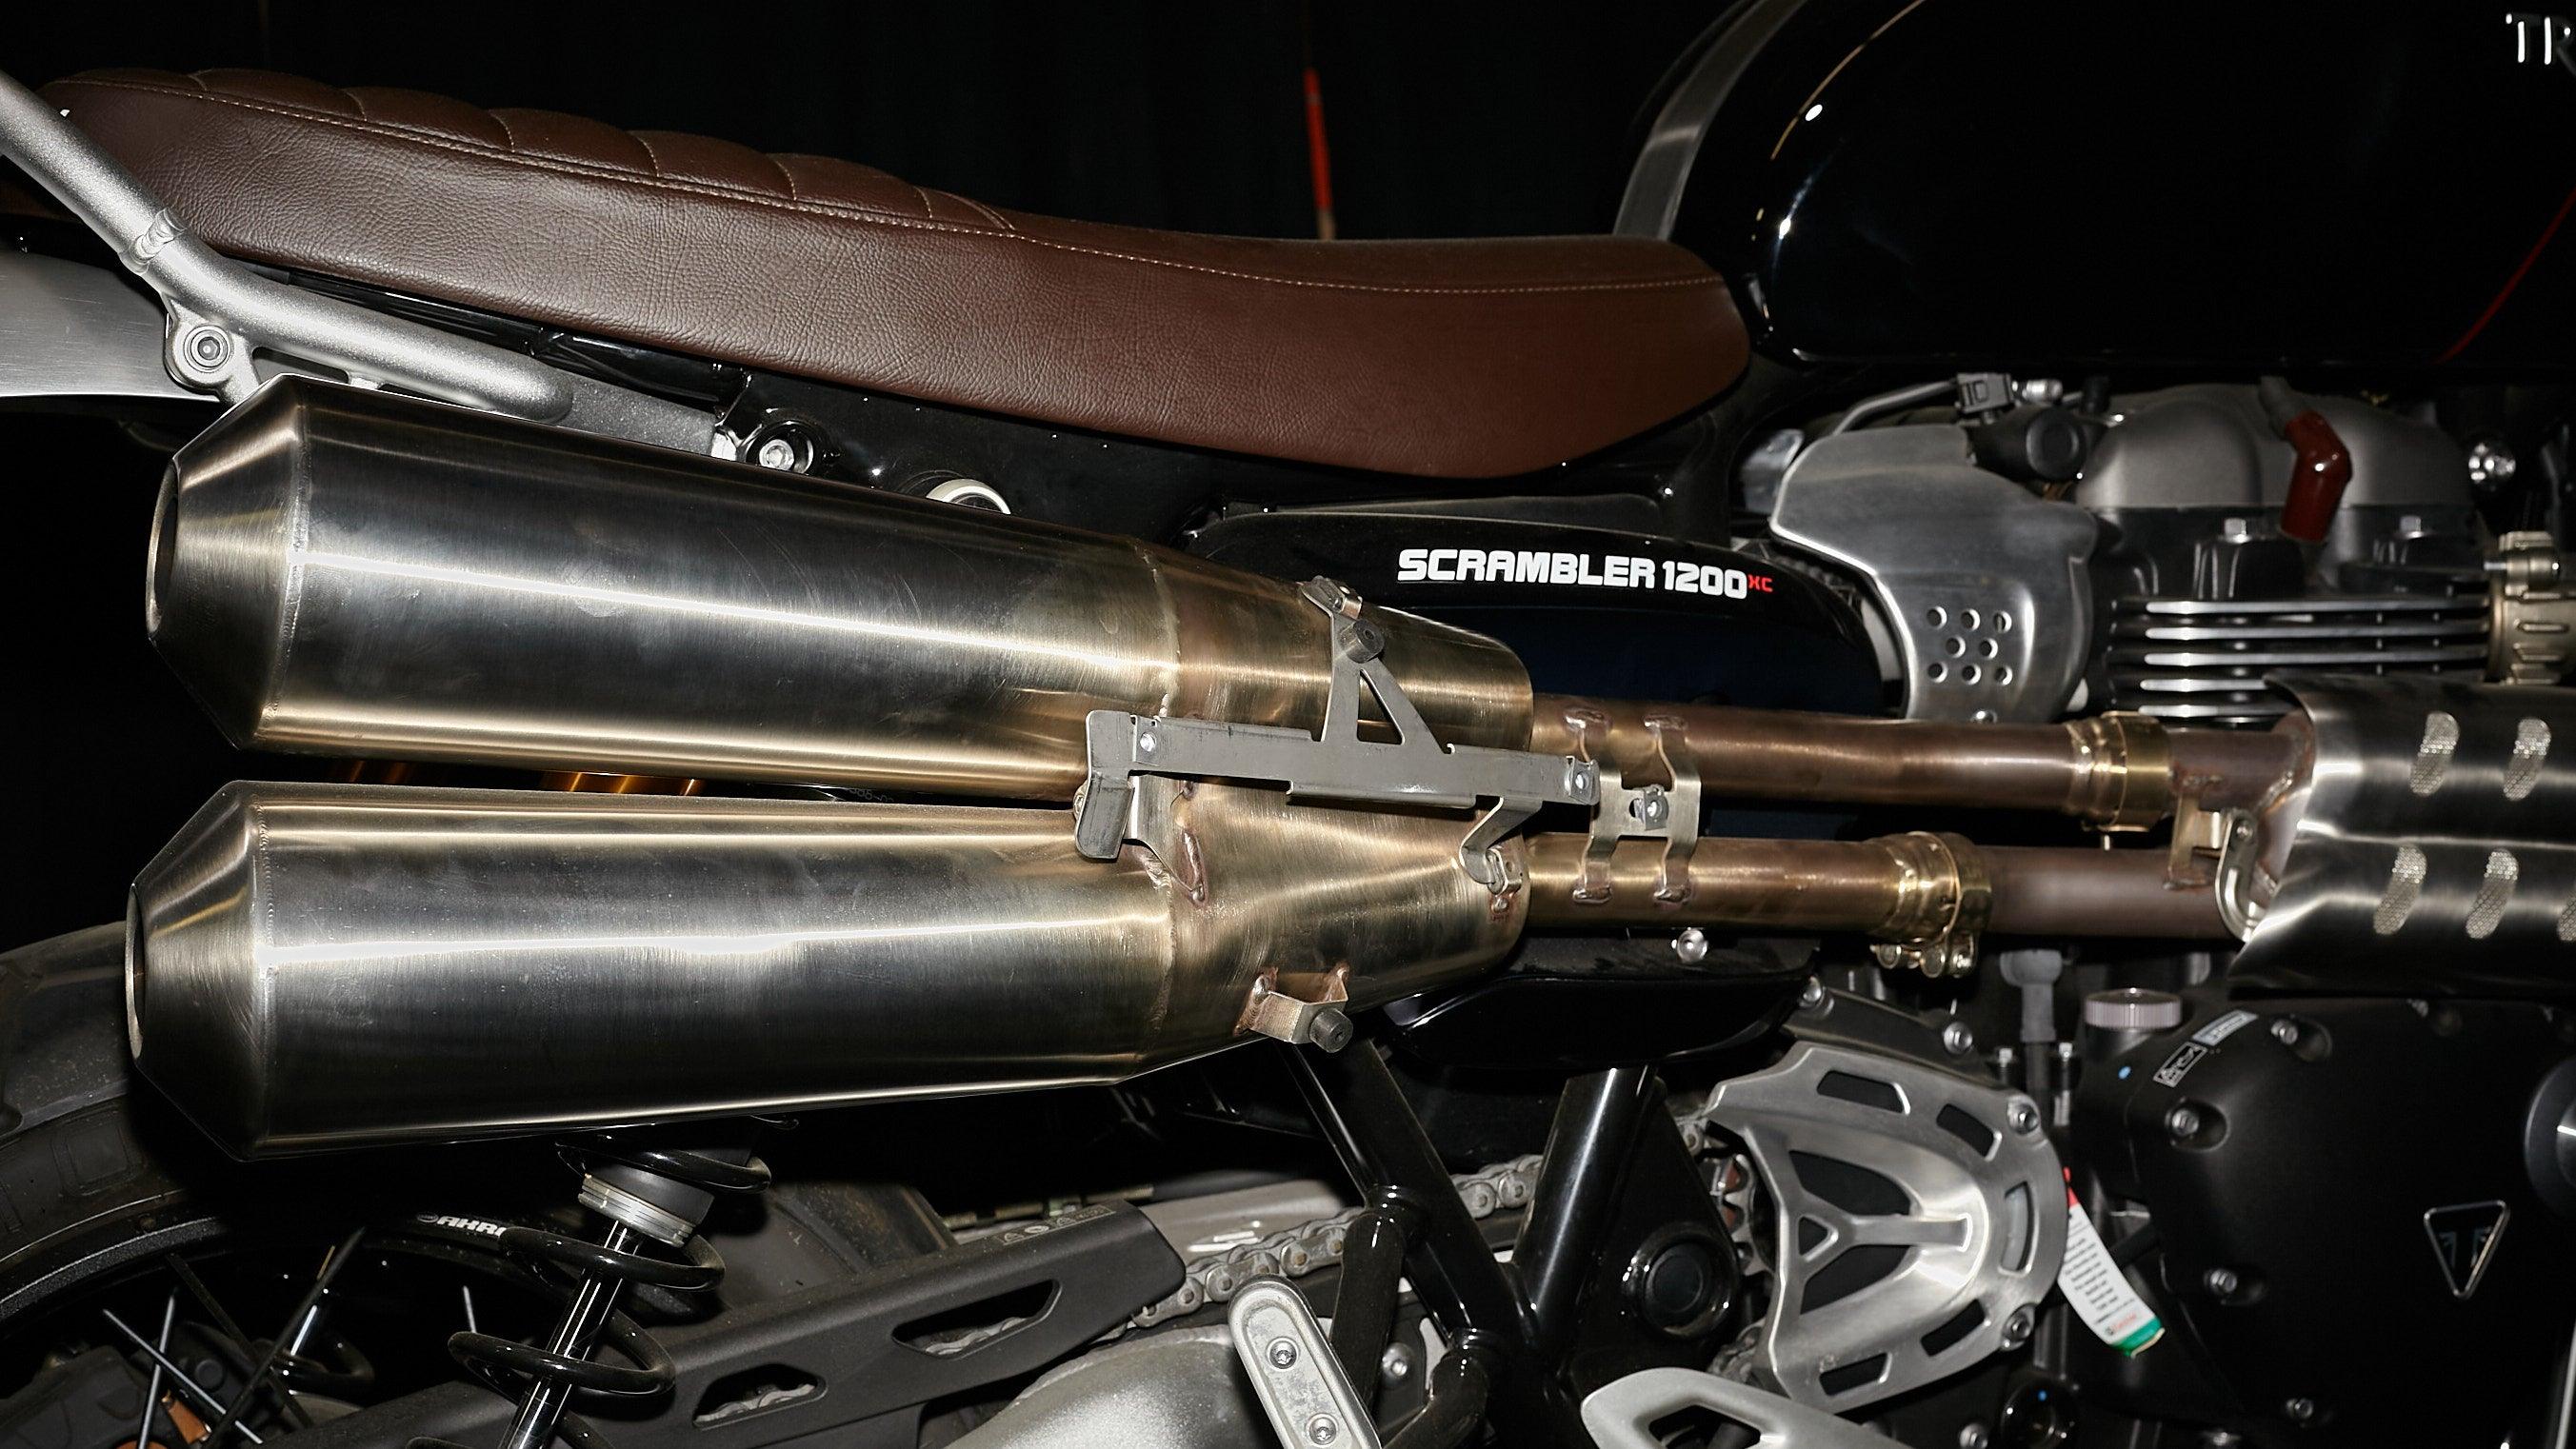
Shown on a 2019 Triumph Street Scrambler
Step By Step Guide - How to Install Fender Eliminator Kit
1. Remove the seat
2. Disconnect the Battery
3. Remove the rear fender
4. Remove the (2) nuts (2) lock washers form the Cateye Taillight.

5. Secure the Cateye Taillight to the fender eliminator underplate bracket using a 6mm socket/wrench.

6. Route the Cateye Taillight electrical connector through the grommet on the fender eliminator underplate bracket

7. Remove the (2) M5 Nylock Nuts and (2) M5 washers from the Fender Eliminator Underplate Bracket.

8. Using the (2) M5 Nylock Nuts and (2) M5 washer removed in Step 7 secure the license plate bracket using an 8mm wrench or socket.
Note: The mounting holes are slotted to allow adjustment of the License Plate Bracket. We recommend positioning the plate as close to Cateye Taillight as possible.

9. Install the supplied weather stripping to the Fender Eliminator Bracket to provide a seal between the frame rails and the Fender Eliminator Under Plate.

10. Remove the (2) factory flanged sleeves and (2) factory M6 mourning screws from the front two mounting points for the rear fender located on the sub-frame.

11. Install the supplied (2) M10 washer onto the flanged Sleeve

12. Install the (2) M10 Washer and Flanges into the front two fender mounting points.

13. Install the Fender Eliminator Assembly using the factory M6 fender mounting hardware and the supplied (4) M6 Fender Washers and (4) M6 Nylock Washers using an M10 socket/wrench and T30 Torx and torque to __ Nm.


14. Install the heat shrink onto the Fender Eliminator Harness. Connect the Cateye Taillight to the harness.
Note: On the Street Scrambler mount under the alternate seat latch crossbar

15. Use a heat gun to shrink the heat shrink around the connection and use the supplied zip ties to secure the seat latch release cable to the Fender Eliminator Under plate bracket. Zip tie Cat eye Taillight wiring to the Seat Release Cable.

16. Connect the Fender Eliminator Harness to the bikes main harness

18. Install Shock Mount Turn Signals or Frame Mounted Turn Signals *if purchased
19. Reconnect the battery
20. Install the seat
Note: Images show Street Scrambler with the Key Latch Relocated to accommodate the Slammer Seat. Rather than factory single seat with rack.


Leave a comment
This site is protected by hCaptcha and the hCaptcha Privacy Policy and Terms of Service apply.