

![]()
Available for purchase here: Tracker Handlebar Kit
Included with the Standard Kit:
- BC Tracker Handlebar
- BC Bobber Tracker Clutch Cable
- BC Bobber Brake Line Kit
- BC Brake Like Adapter
- Copper Crush Washers
Also available with optional Handlebar Clamps and Spacers
REMOVAL OF FACTORY HANDLEBARS
1. Properly support the vehicle with a stand and/or lift when servicing or performing any work. Unstable vehicles my present dangerous conditions and may cause property damage and/or personal injury
2. Disconnect and remove the battery
WARNING: Make sure the battery terminals do not touch the frame of your motorcycle as this may cause a short circuit or spark. which may cause property damage and/or personal injury


6. Disconnect and remove the brake line from the junction block located on the right side of the frame

7. Disconnect and remove the clutch cable. Use an 18mm wrench to release the tension from the clutch cable

8. Remove the Bar End and the Mirrors from the left and right side of the bike.

9. Remove (2) fasteners that secure the left hand switch housing to the clutch lever assembly. Set aside the (2) fasteners for installation.

10. Remove the (2) fasteners that secure the clutch housing to the handlebar and the (2) rubber bands that secure the wiring to the handlebar. Let the clutch lever assembly rest along the forks. Save the (2) fasteners and (2) rubber bands for installation.

11. Remove the left hand grip
12. Remove the (2) fasteners that secure the right hand switch assembly from the Front Master Cylinder/Throttle Assembly

13. Re-route the wiring to accommodate for new handlebars. The handlebar switch connectors are located on the left-hand side of the frame. Remove the (4) connectors from the mounting tabs and slide the wiring forward.

14. Loosen the (2) fasteners that secure the front Master Cylinder/Throttle assembly to the handlebar and remove the (2) rubber band that secures the wiring to the bar.

15. Remove the Front Master Cylinder/Throttle Housing off the end of the bar.
Note: Disconnecting the electrical connector will ensure the Master Cylinder/Throttle Assembly comes off without stressing the wiring.

16. Remove the (4) fasteners that secure the top handlebar clamp and remove the factory handlebar.

INSTALLATION
If you purchased BC Four Bolt Handlebar Clamps and/or Spacers see the BC Four Bold Handlebar Clamp install guide. Otherwise, continue to the next step.
17. Install BC Tracker Bars and set the desired handlebar position. Install the factory top handlebar clamp and tighten the (2) front fasteners first to 24 Nm. Then secure the (2) rear fasteners to 24 Nm.

18. Install the left-hand grip removed in Step 11 and install the Clutch Lever Assembly.

19. Install the clutch lever assembly and secure the (2) fastener that secures the clutch lever assembly

20. Install the cluch lever assembly switch housing and secure the (2) fasteners removed in Step 10

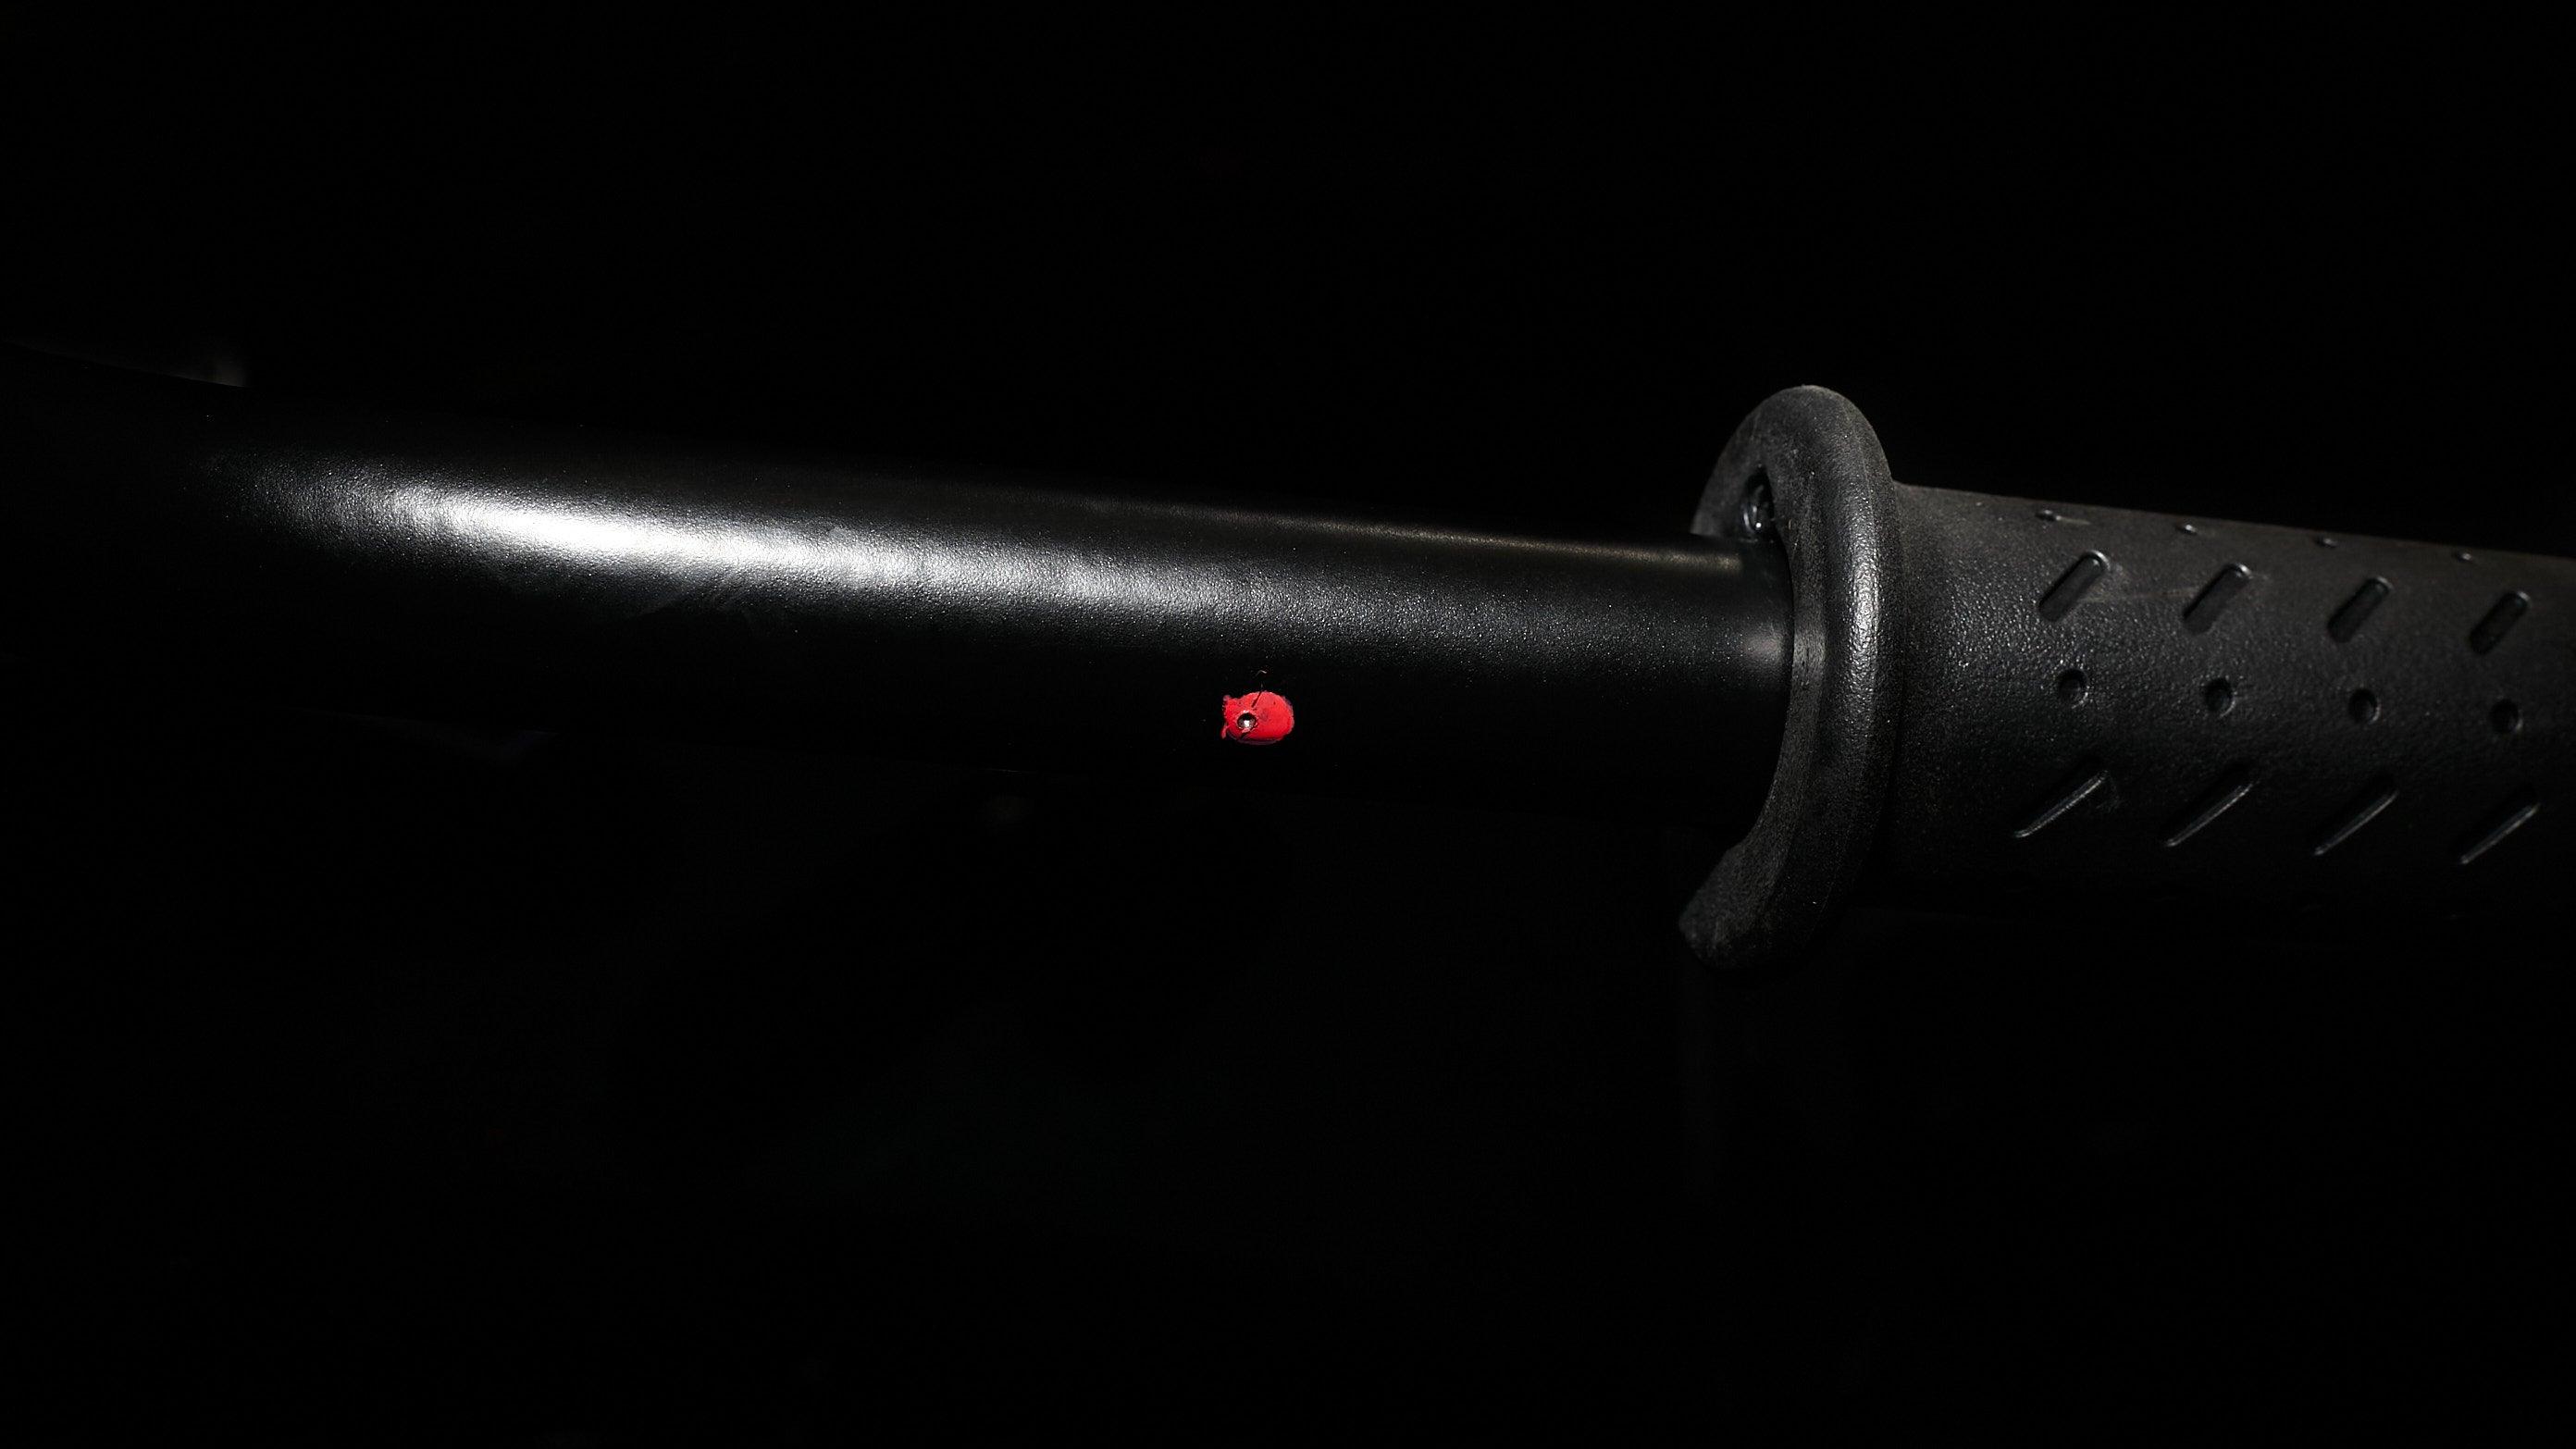
21. The Front Master Cylinder/Throttle Assembly has a built in positioning pin to prevent the Front Master Cylinder/Throttle Assembly from twisting. The Tracker Bars have to be drilled, install the Front Master Cylinder/Throttle Assembly in the desired position and mark the handlebar.

22. Remove the Front Master Cylinder/Throttle Assembly and Drill the BC Tracker Bar. It's recommended you use a center punch to prevent to mark the bar and prevent drill bit from wandering or use a drill guide as shown below. (available here)

23. Install the Front Master Cylinder/Throttle Assembly onto the BC Tracker Bar. Make sure the positioning pin aligns with the drilled hole and secure the (2) fasteners to 12 Nm, upper one first.

24. Install the Front Master Cylinder/Throttle Assembly Switch Housing and secure with (2) fasteners removed in Step 12 the right-hand switch housing

25. Install the Tracker Brake Line using Banjo Bolt Removed in Step 5 and the supplied crush washers. Note the position of the BC Tracker Brake Line.

26. Install the Tracker Brake Line Adapter using a 9/16 wrench. Support the factory junction block to prevent damage to the junction block when tightening. With the Tracker Brake Line Adapter installed, disconnect the junction block from the frame using a T20 Torx.

27. Connect the Tracker Brake Line to the Factory Junction Block and tighten. Support Tracker Brake Line Adapter when installing the Tracker Brake Line to prevent damage to the factory junction block

28. Install the Tracker Brake Line to the frame using a T30 Torx and tighten. Route and position the BC Tracker Brake Line in the factory mounting clips.
29. Fill and Bleed the brake system and check for leaks at the Banjo Bolt and junction block.
30. Install and route the clutch cable. Note: An 18mm wrench can be used to release tension from the clutch lifter arm to ease the removal of the clutch cable.
31. Loosen the Clutch Wire Guide and reposition the clutch wire guide, so the clutch cable is properly routed.
32. Fit the gas tank and connect the (2) electrical connectors (1) fuel connector and (1) vent line to the tank and secure them to the frame using a __ mm socket and tighten.
33.Unsupported the bike and move the handlebars left to right to make sure that the brake and clutch cable doesn't interfere with the operation.

Leave a comment
All comments are moderated before being published.
This site is protected by hCaptcha and the hCaptcha Privacy Policy and Terms of Service apply.