

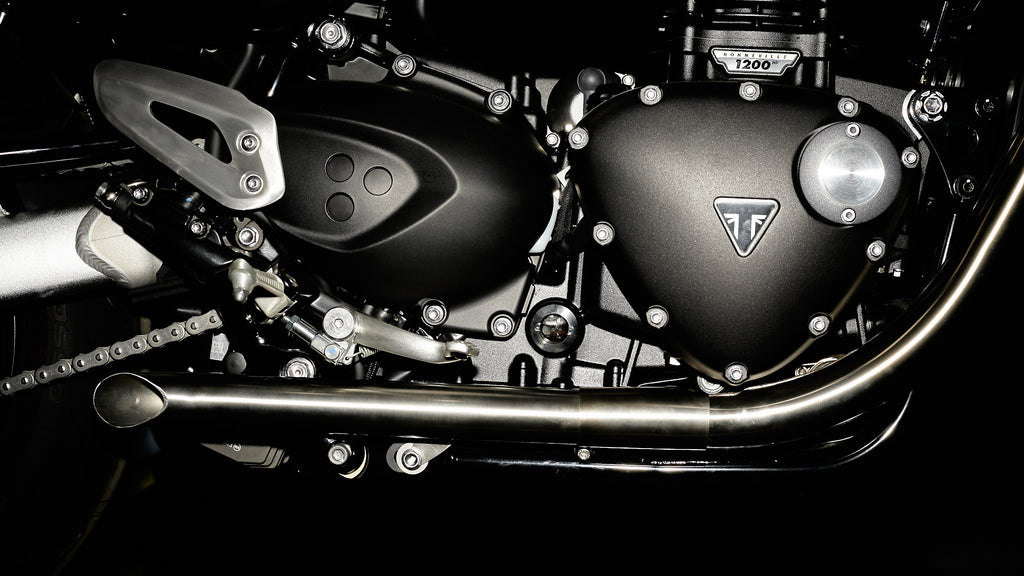
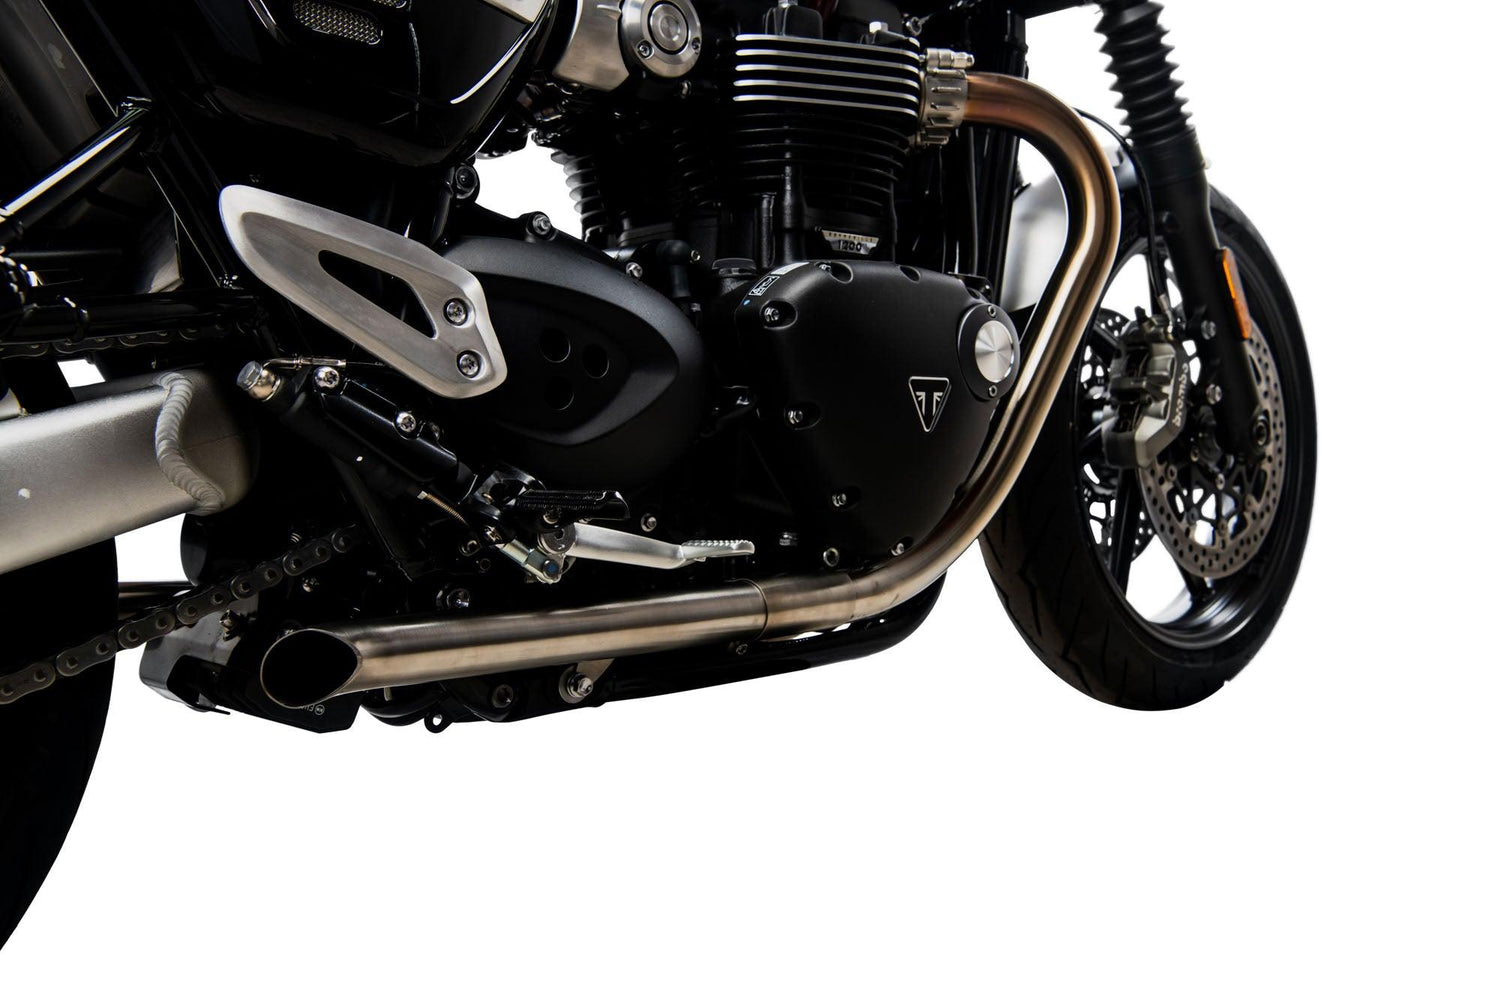
Performed on 2019 Triumph Bonneville Speed Twin
Kit Includes:
- Left Performance Tip
- Right Performance Tip
- (1) M8x16 Socket Cap Screw
- (2) M8 Washers
BEFORE YOU PROCEED REVIEW THE FOLLOWING GUIDES
1 - Remove Factory Exhaust (see How to Remove Factory Exhaust)
2 - Remove the Passenger Peg and Clevis (see How to Remove Passenger Peg and Clevis)
3 - Remove Mid Pipe (see How to Remove Mid Pipe)
HOW TO INSTALL MID PIPE - LEFT SIDE
1 - Install the BC Performance Tip Inlet into the Catalytic Converter. Be careful to not damage the gasket.


3 - Using a 10mm wrench, tighten the exhaust clamp. Note: pull on the performance tip to make sure properly seated. If the performance tip moves around continue to tighten.
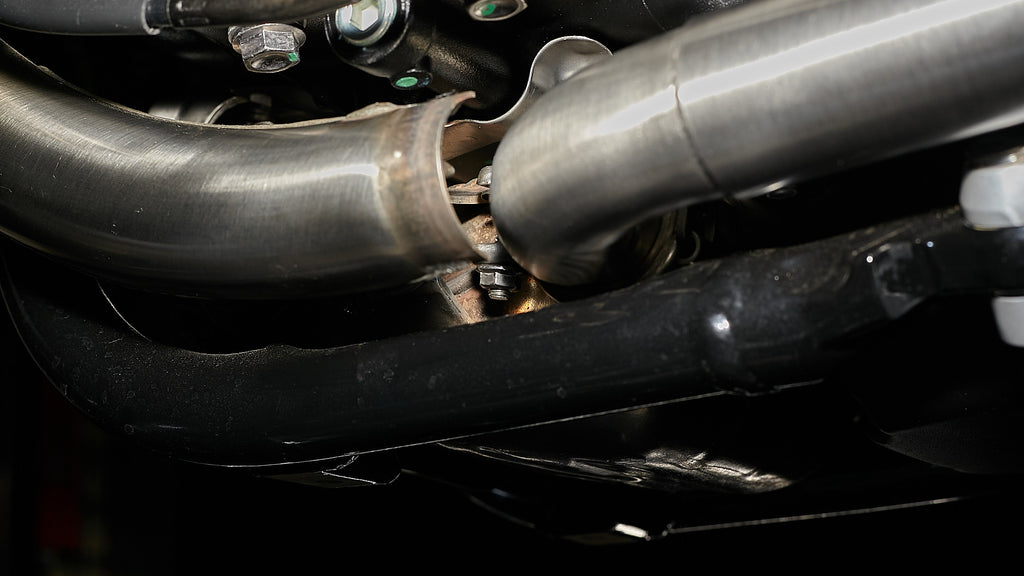
4 - Using a 5mm Allen install the heat shield using the factory clamp and bolt. Note: The header has a grove where the heat shield positioning pin rest.
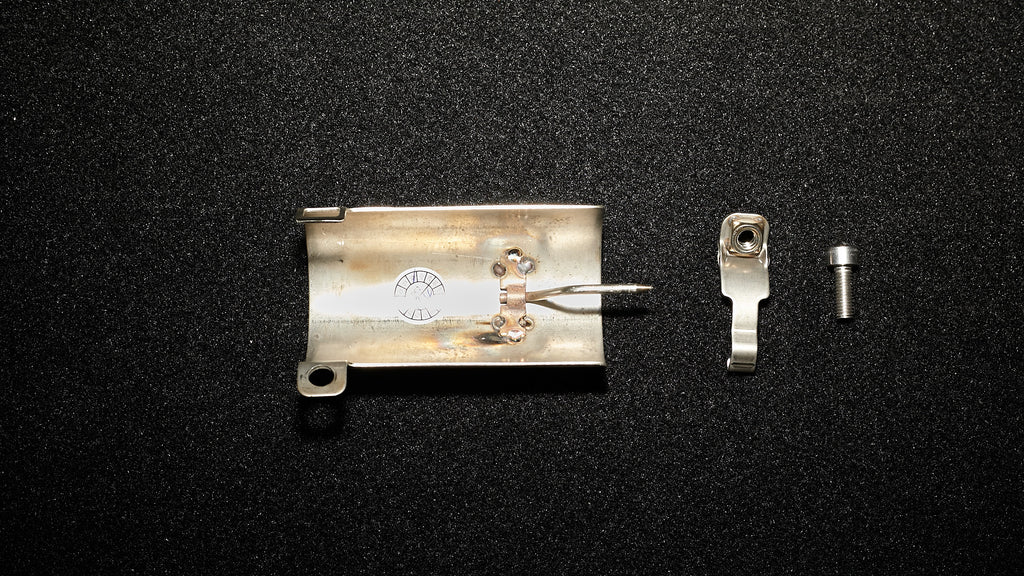
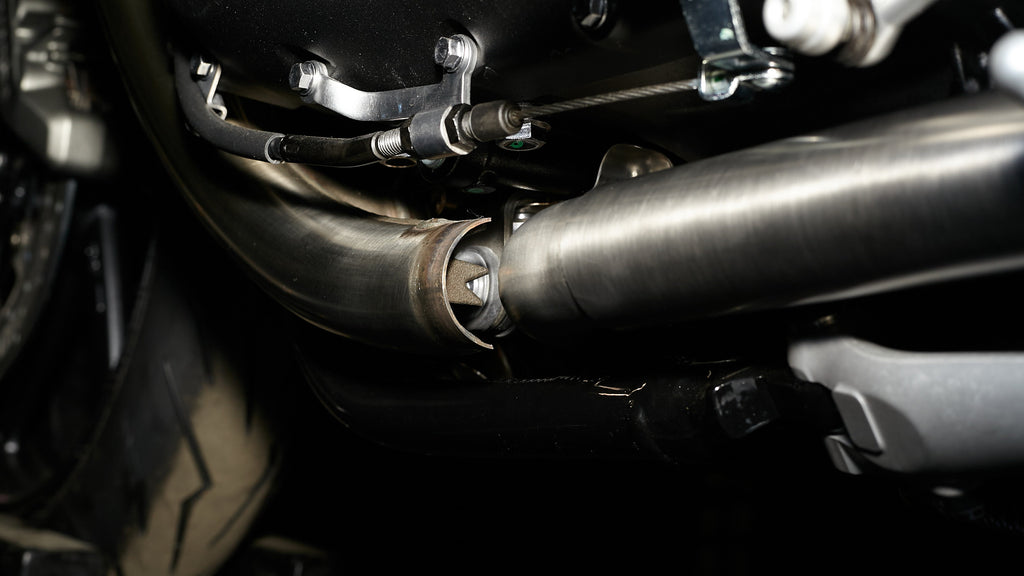
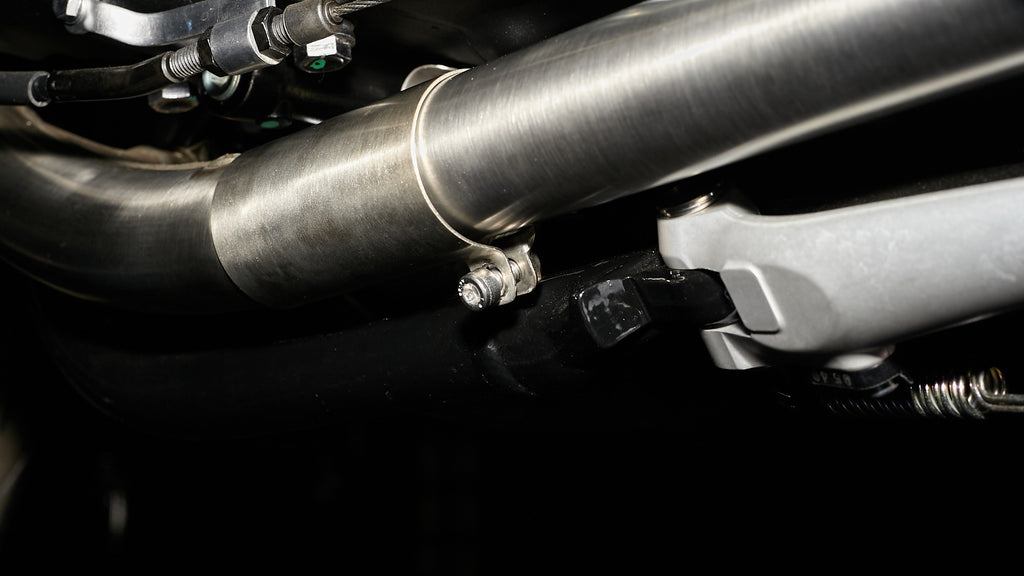
5 - Using a 6mm Allen and 12mm Wrench install the passenger peg mounting bracket. The Performance Tips do not use the rear passenger peg to mount the exhaust. You will need to replace the factory mounting screw with the M8x25 socket cap screw. The factory locknut will be reused (see How to Remove Passenger Peg and Clevis)

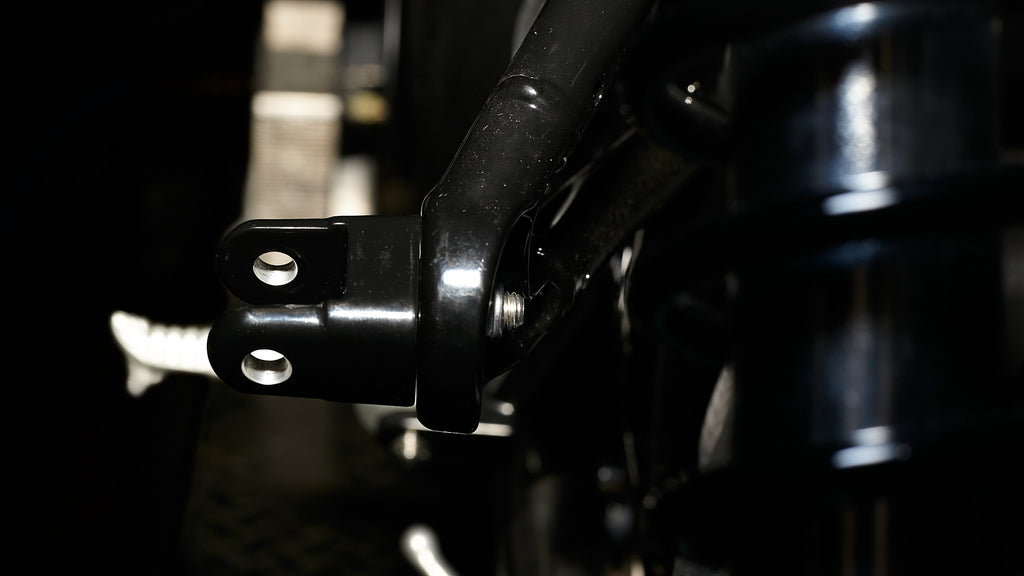
6 - Install the Foot Peg Retaining Plate onto the Passenger Peg Mount

7 - Install the spring and ball bearing into the foot peg
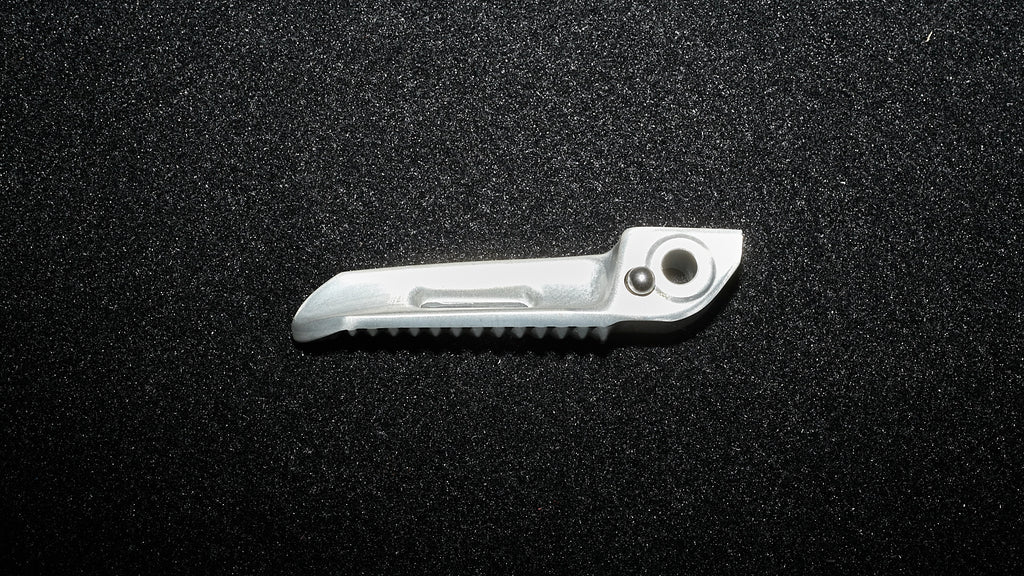
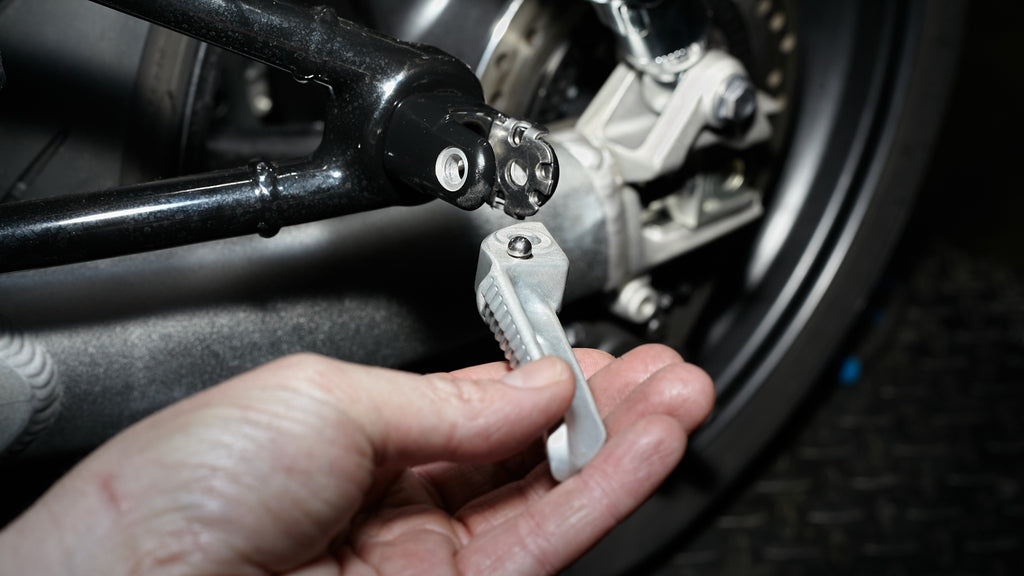
8 - Install the Foot Peg with spring and ball bearing into the Passenger Peg Mount. Be careful to not loose the ball bearing or spring during installation.
9 - Install the Foot Peg Pivot Pin through the Passenger Peg Foot Peg Mount and Foot Peg.
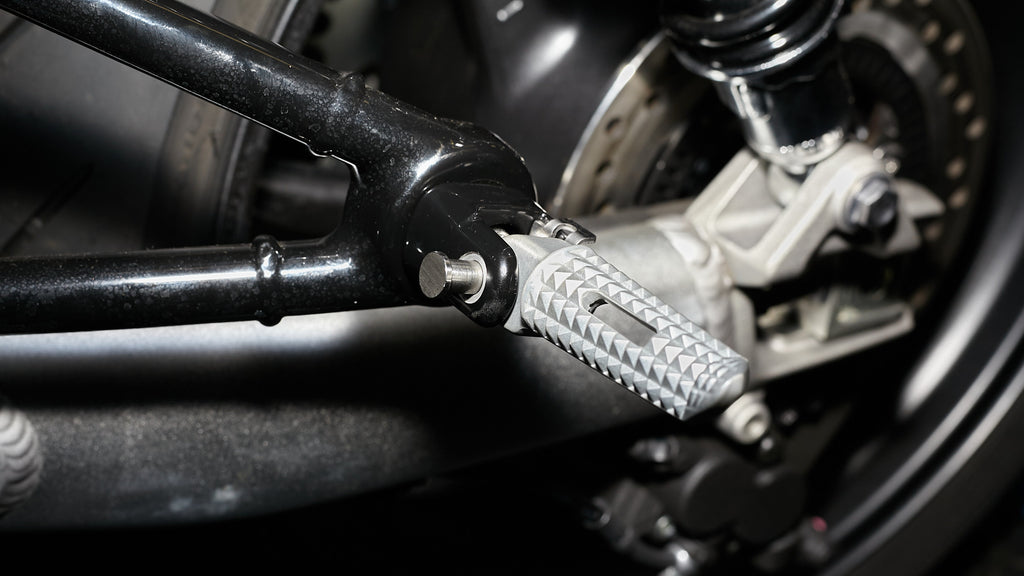
10 - Install the Circlip onto the Passenger Pivot pin

11 - The entire exhaust system should be wiped down with rubbing alcohol to remove oil and fingerprints before starting the motorcycle. This will help prevent tarnishing of the finish after the exhaust is heated up.
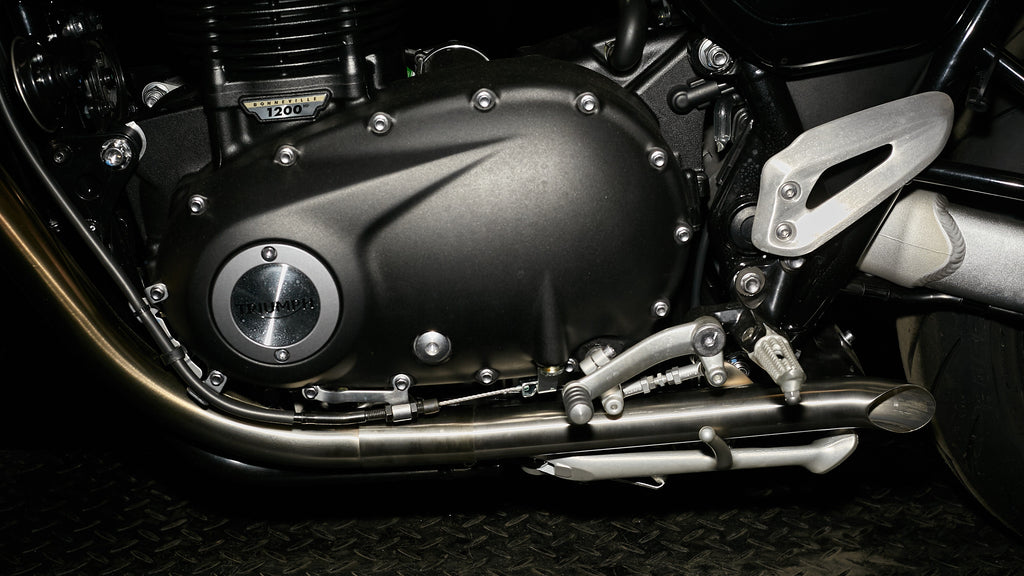
HOW TO REMOVE FOOT PEG - RIGHT SIDE
1 - Install the BC Performance Tip Inlet into the Catalytic Converter. Be careful to not damage the gasket. Note: Make sure the sleeve is installed into the sub-frame.
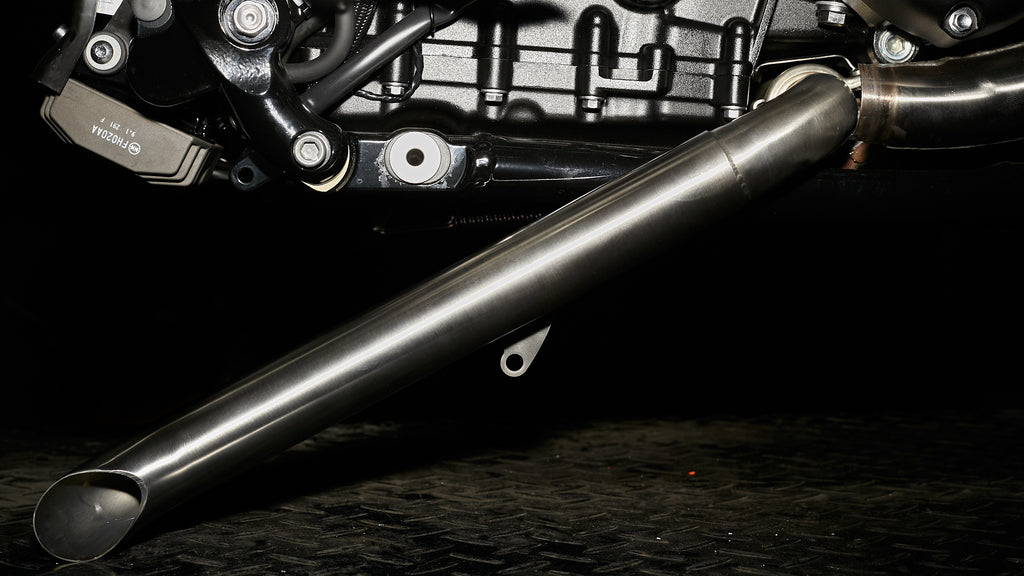
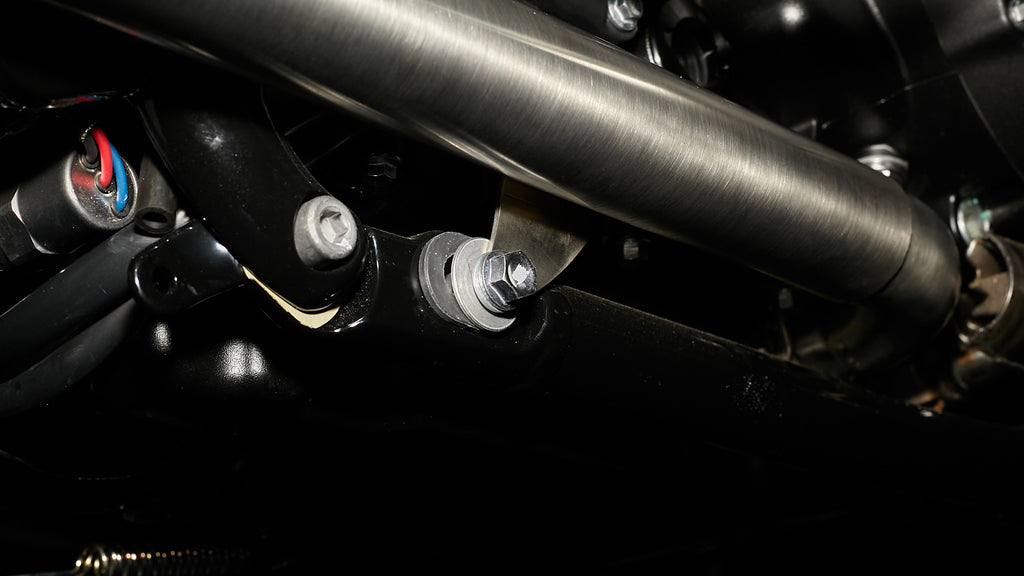
2 - Using a 12mm Socket and 12mm Wrench secure the BC Performance Tip to the frame using the factory hardware (1) bolt, (1) washer, (1) locking nut, and (1) Sleeve.
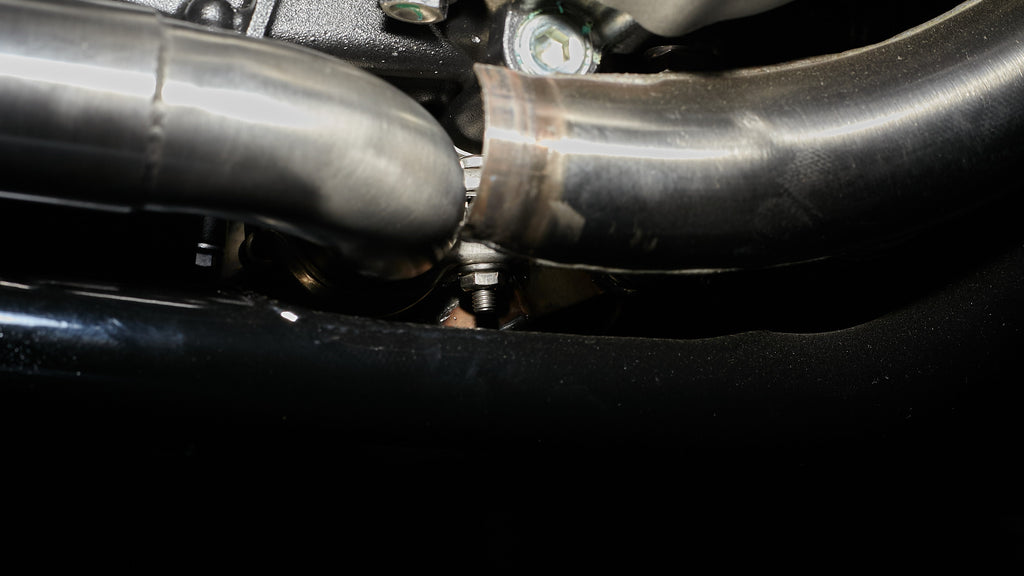
3 - Using a 10mm wrench tight the exhaust clamp. Note: Verify the performance tip is properly secured by pulling the performance pipe away form the bike. If the performance tip moves continue to tighten.
4 - Using a 5mm Allen install the heat shield using the factory clamp and bolt. Note: The header has a grove where the heat shield positioning pin rest.

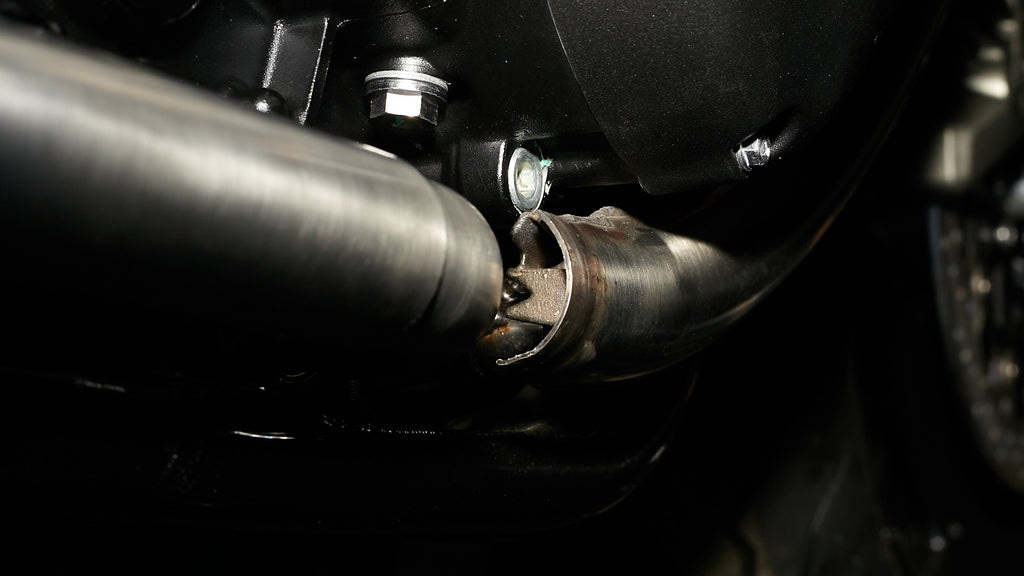
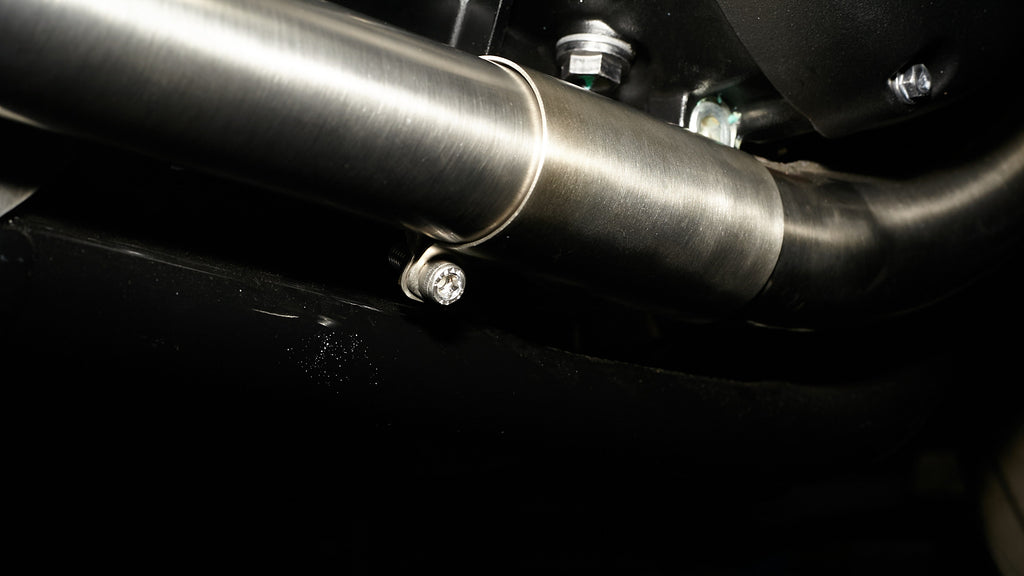
5 - Using a 6mm Allen and 12mm Wrench install the passenger peg mounting bracket. The Performance Tips do not use the rear passenger peg to mount the exhaust. You will need to replace the factory mounting screw with the M8x25 socket cap screw. The factory locknut will be reused (see How to Remove Passenger Peg and Clevis)
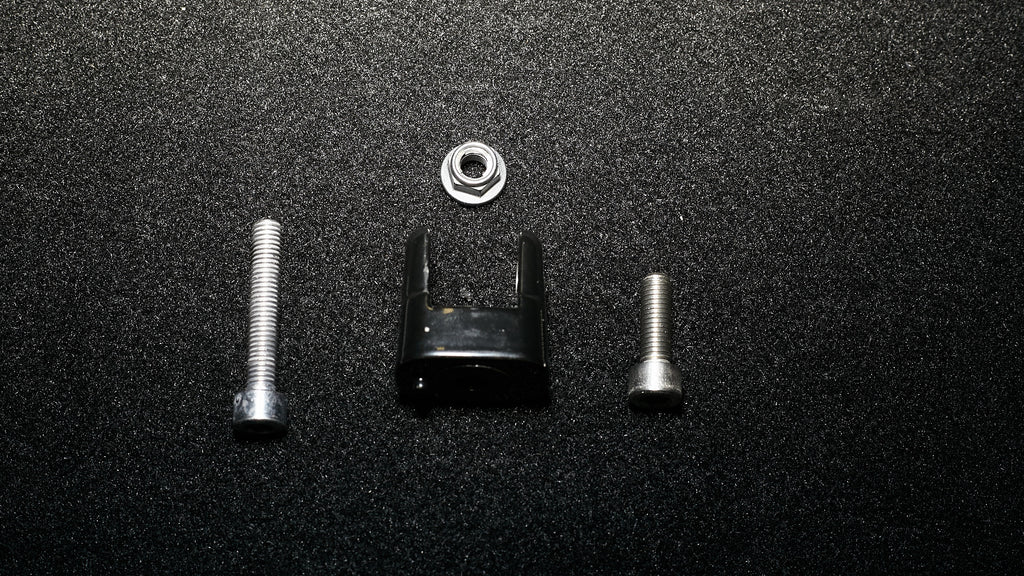
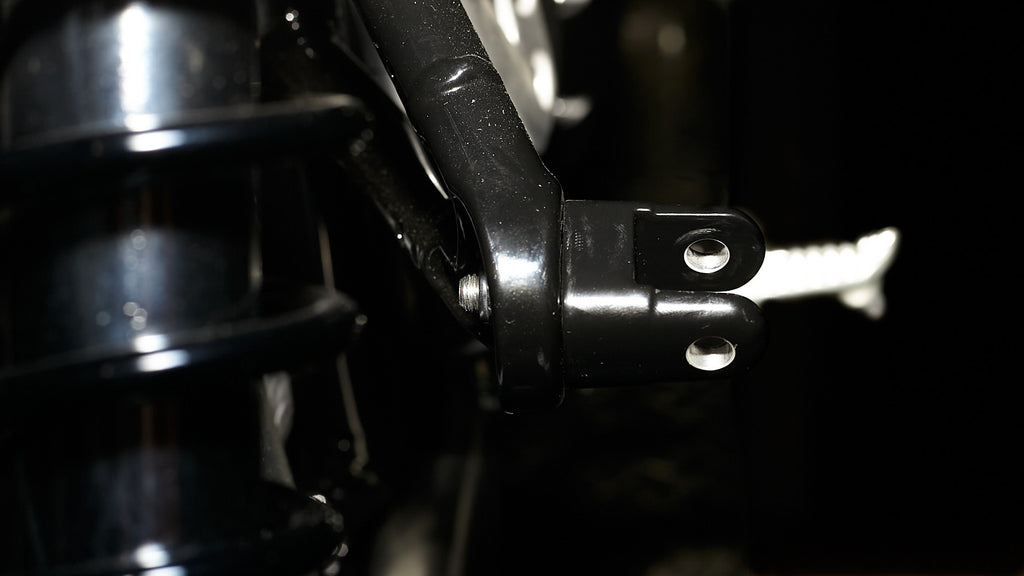 6 - Install the Foot Peg Retaining Plate onto the Passenger Peg Mounting Bracket.
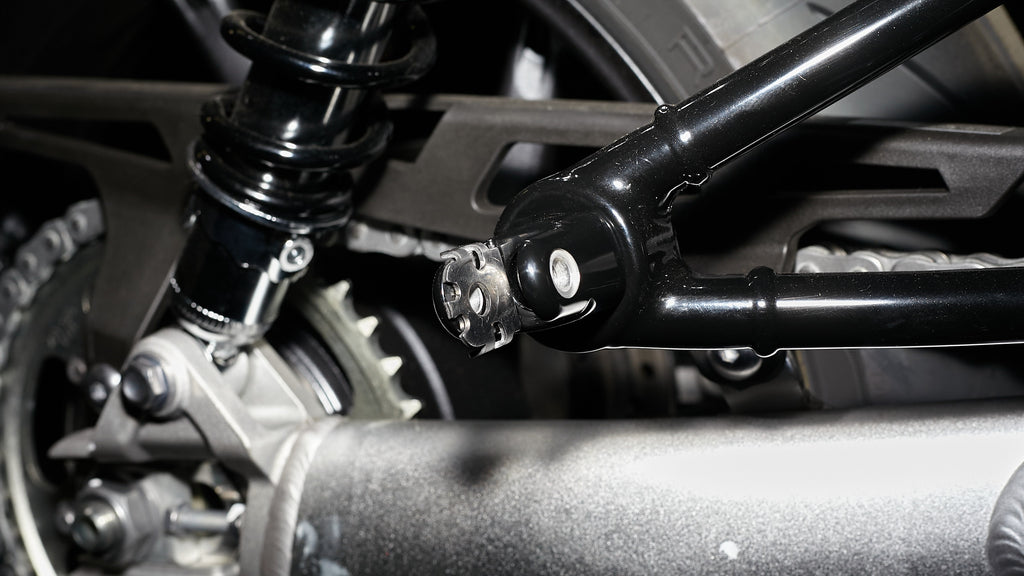 7 - Install the spring and ball bearing into the foot peg
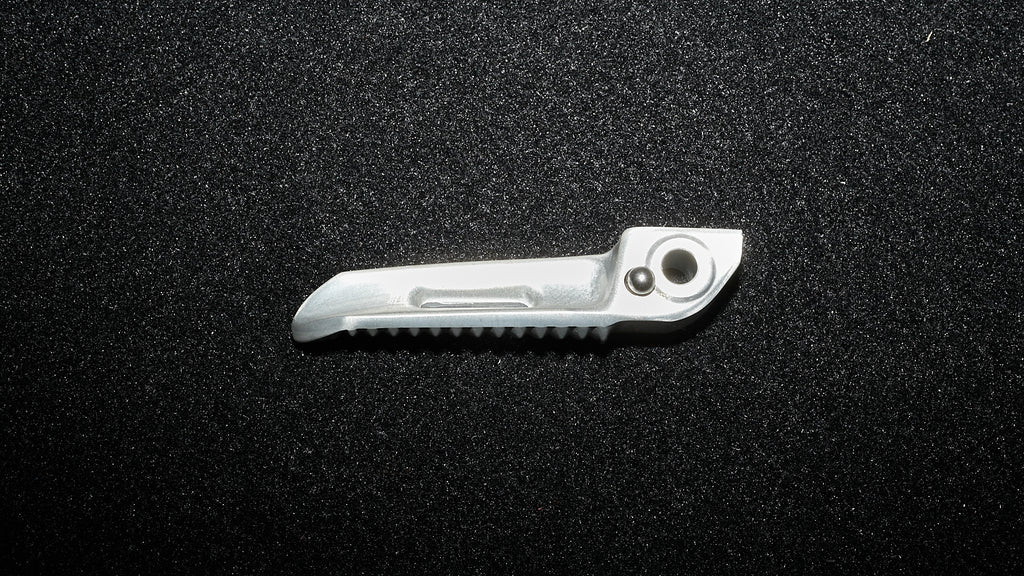 8 - Install the Foot Peg with spring and ball bearing into the Passenger Peg Mount.
 9 - Install the Foot Peg Pivot Pin through the Passenger Peg Foot Peg Mount and Foot Peg.
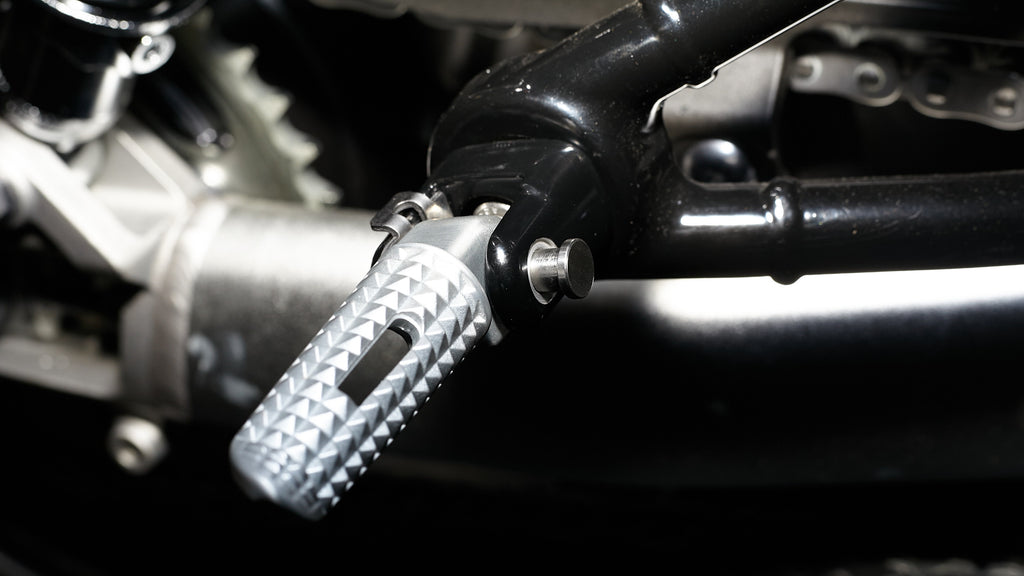
10 - Install the Circlip onto the Passenger Pivot pin
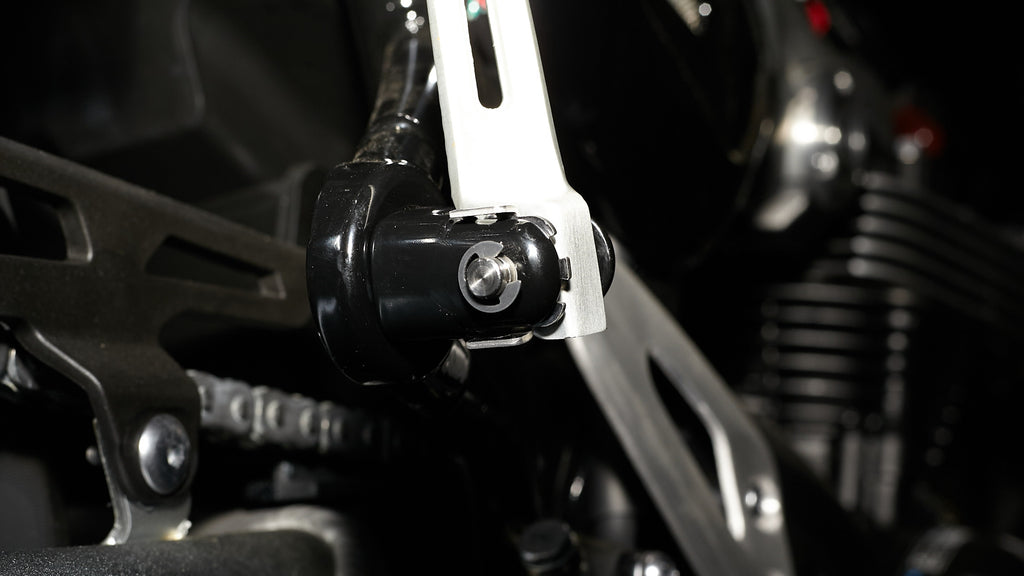
11 - The entire exhaust system should be wiped down with rubbing alcohol to remove oil and fingerprints before starting the motorcycle. This will help prevent tarnishing of the finish after the exhaust is heated up.


Leave a comment
This site is protected by hCaptcha and the hCaptcha Privacy Policy and Terms of Service apply.