Publish Date: 12/05/2019
Part #: BC410-058-B
Thank you for choosing this British Customs Product. This British Customs product has been designed and tested to fit the following Triumph Motorcycles:
- Triumph Speed Twin (2019+)
Completely read all these instructions before installing the British Customs product to become thoroughly familiar with the features and the installation process.
KIT INCLUDES
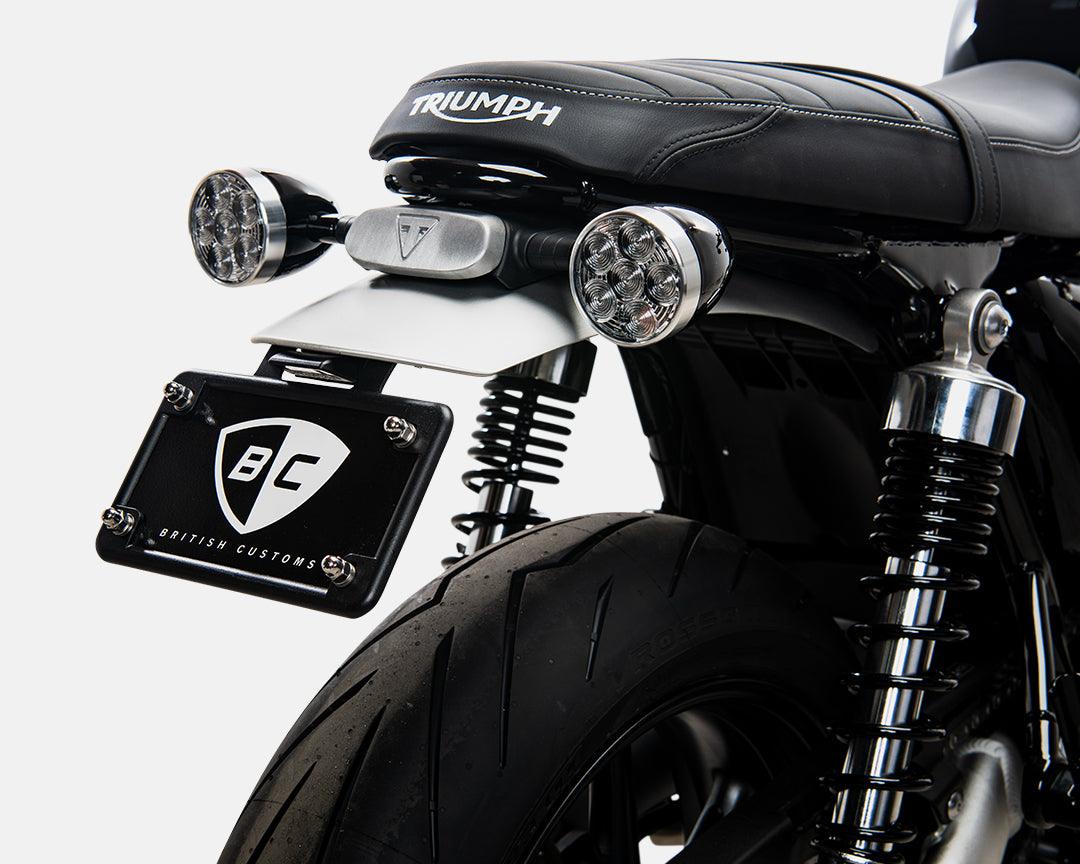
| 1. Fender Eliminator Plate for Speed Twin | Qty 1 |
| 2. License Plate Frame (Black) | Qty 1 |
| 3. BC License Plate Plaque | Qty 1 |
| 4. M6-1.0x16 Button Head Screws | Qty 4 |
| 5. M6 Washers | Qty 4 |
| 6. M6 Lock Washers | Qty 4 |
| 7. M5-.08x16 Low Profile Socket Cap Screw | Qty 2 |
| 8. M5 Washer | Qty 2 |
| 9. M5 Nylock Nut | Qty 2 |
| 10. M4 Lock Washer |
Qty 2 |
| 11. M4 Washer |
Qty 4 |
WARNING
Always properly support the vehicle with a stand and/or lift when servicing or performing any work. Unstable vehicles my present dangerous conditions and may cause property damage and/or personal injury
It is recommended that this kit be installed by a certified Triumph technician, following the Triumph service manual to aid in proper fitting. Verify all torque specs in the Triumph service manual.
STEP BY STEP GUIDE
1. Remove the factory license plate (see How to Remove the Factory License Plate).
2. Using a T20 Torx install the Factory License Plate Light using the (2) factory bolts and supplied (4) washer and (2) lock washer. Spacers go between the license plate holder and License Plate Light.

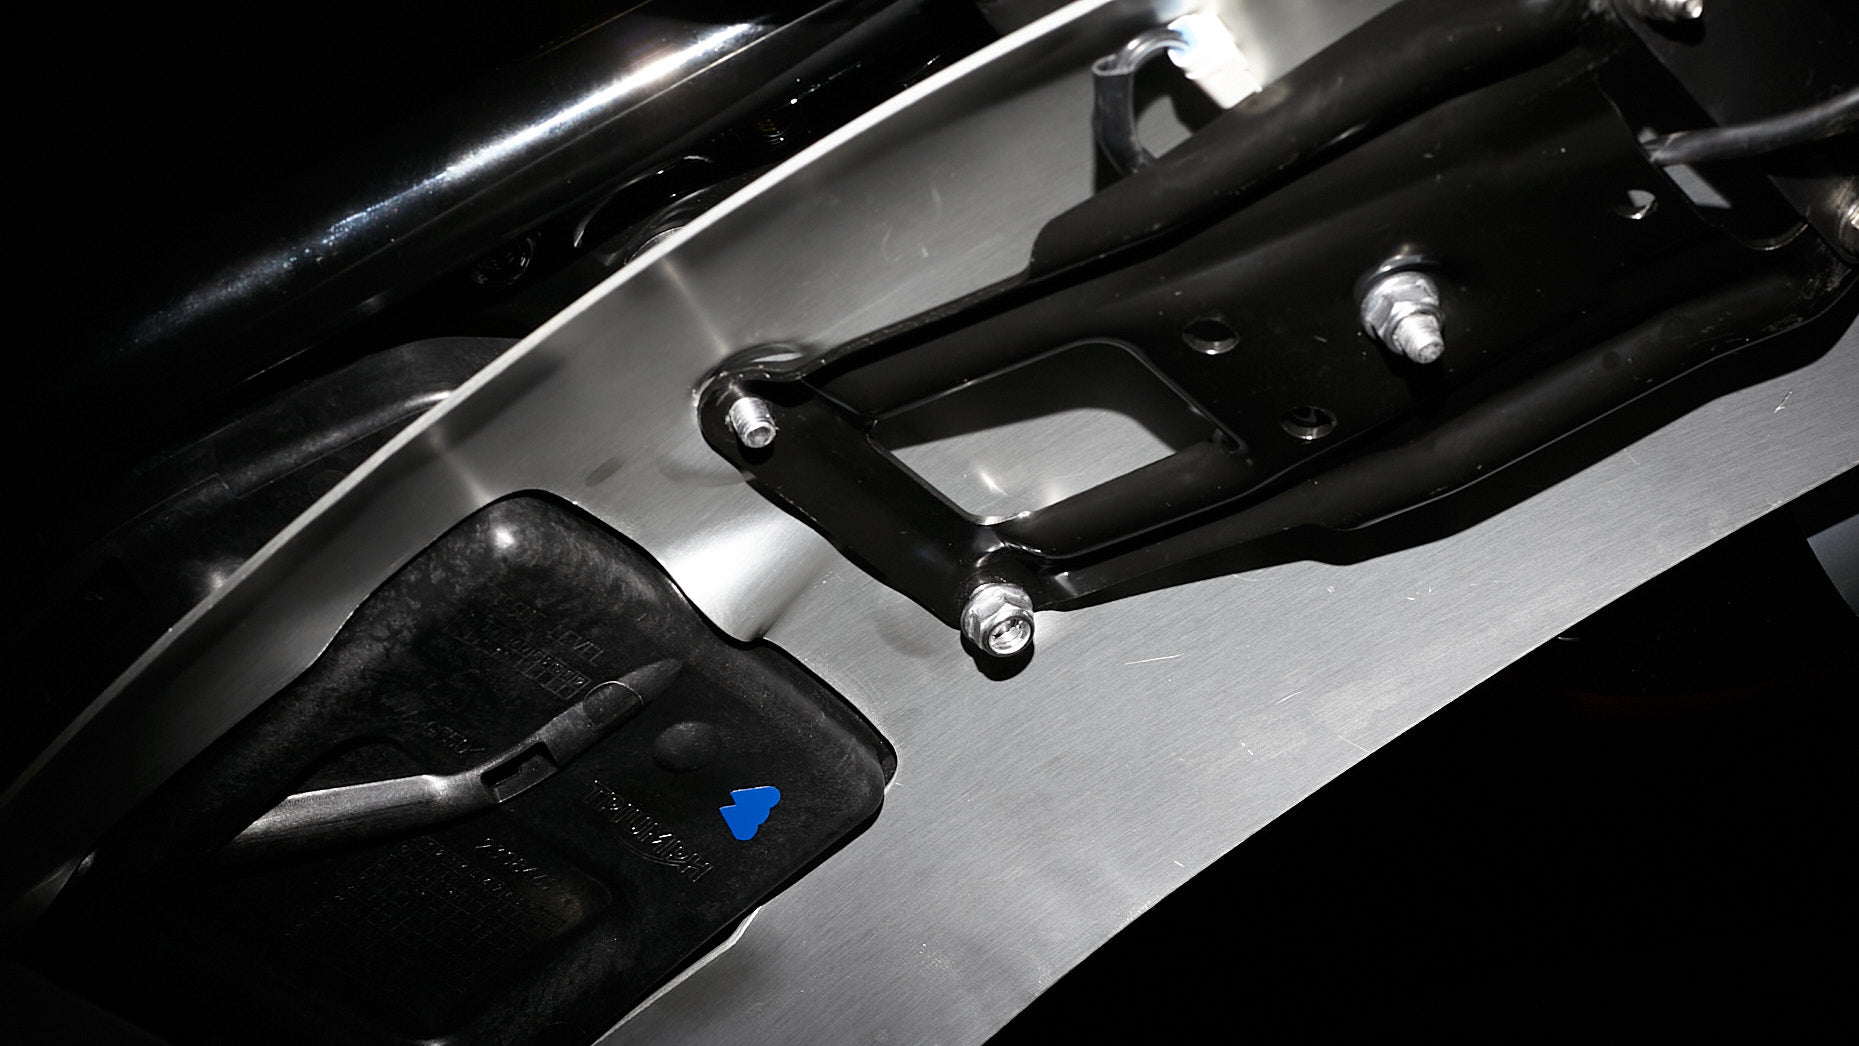
3. Using a 3mm Allen install the (2) supplied m5x16 bolts into the backside of the factory mounting bracket removed in Step ___ of How to remove guide (see How to Remove the Factory License Plate)

4. Mount the Fender Eliminator Plate to the factory mounting plate and secure with the supplied (2) M5 washers and (2) M5 nyloc nuts.

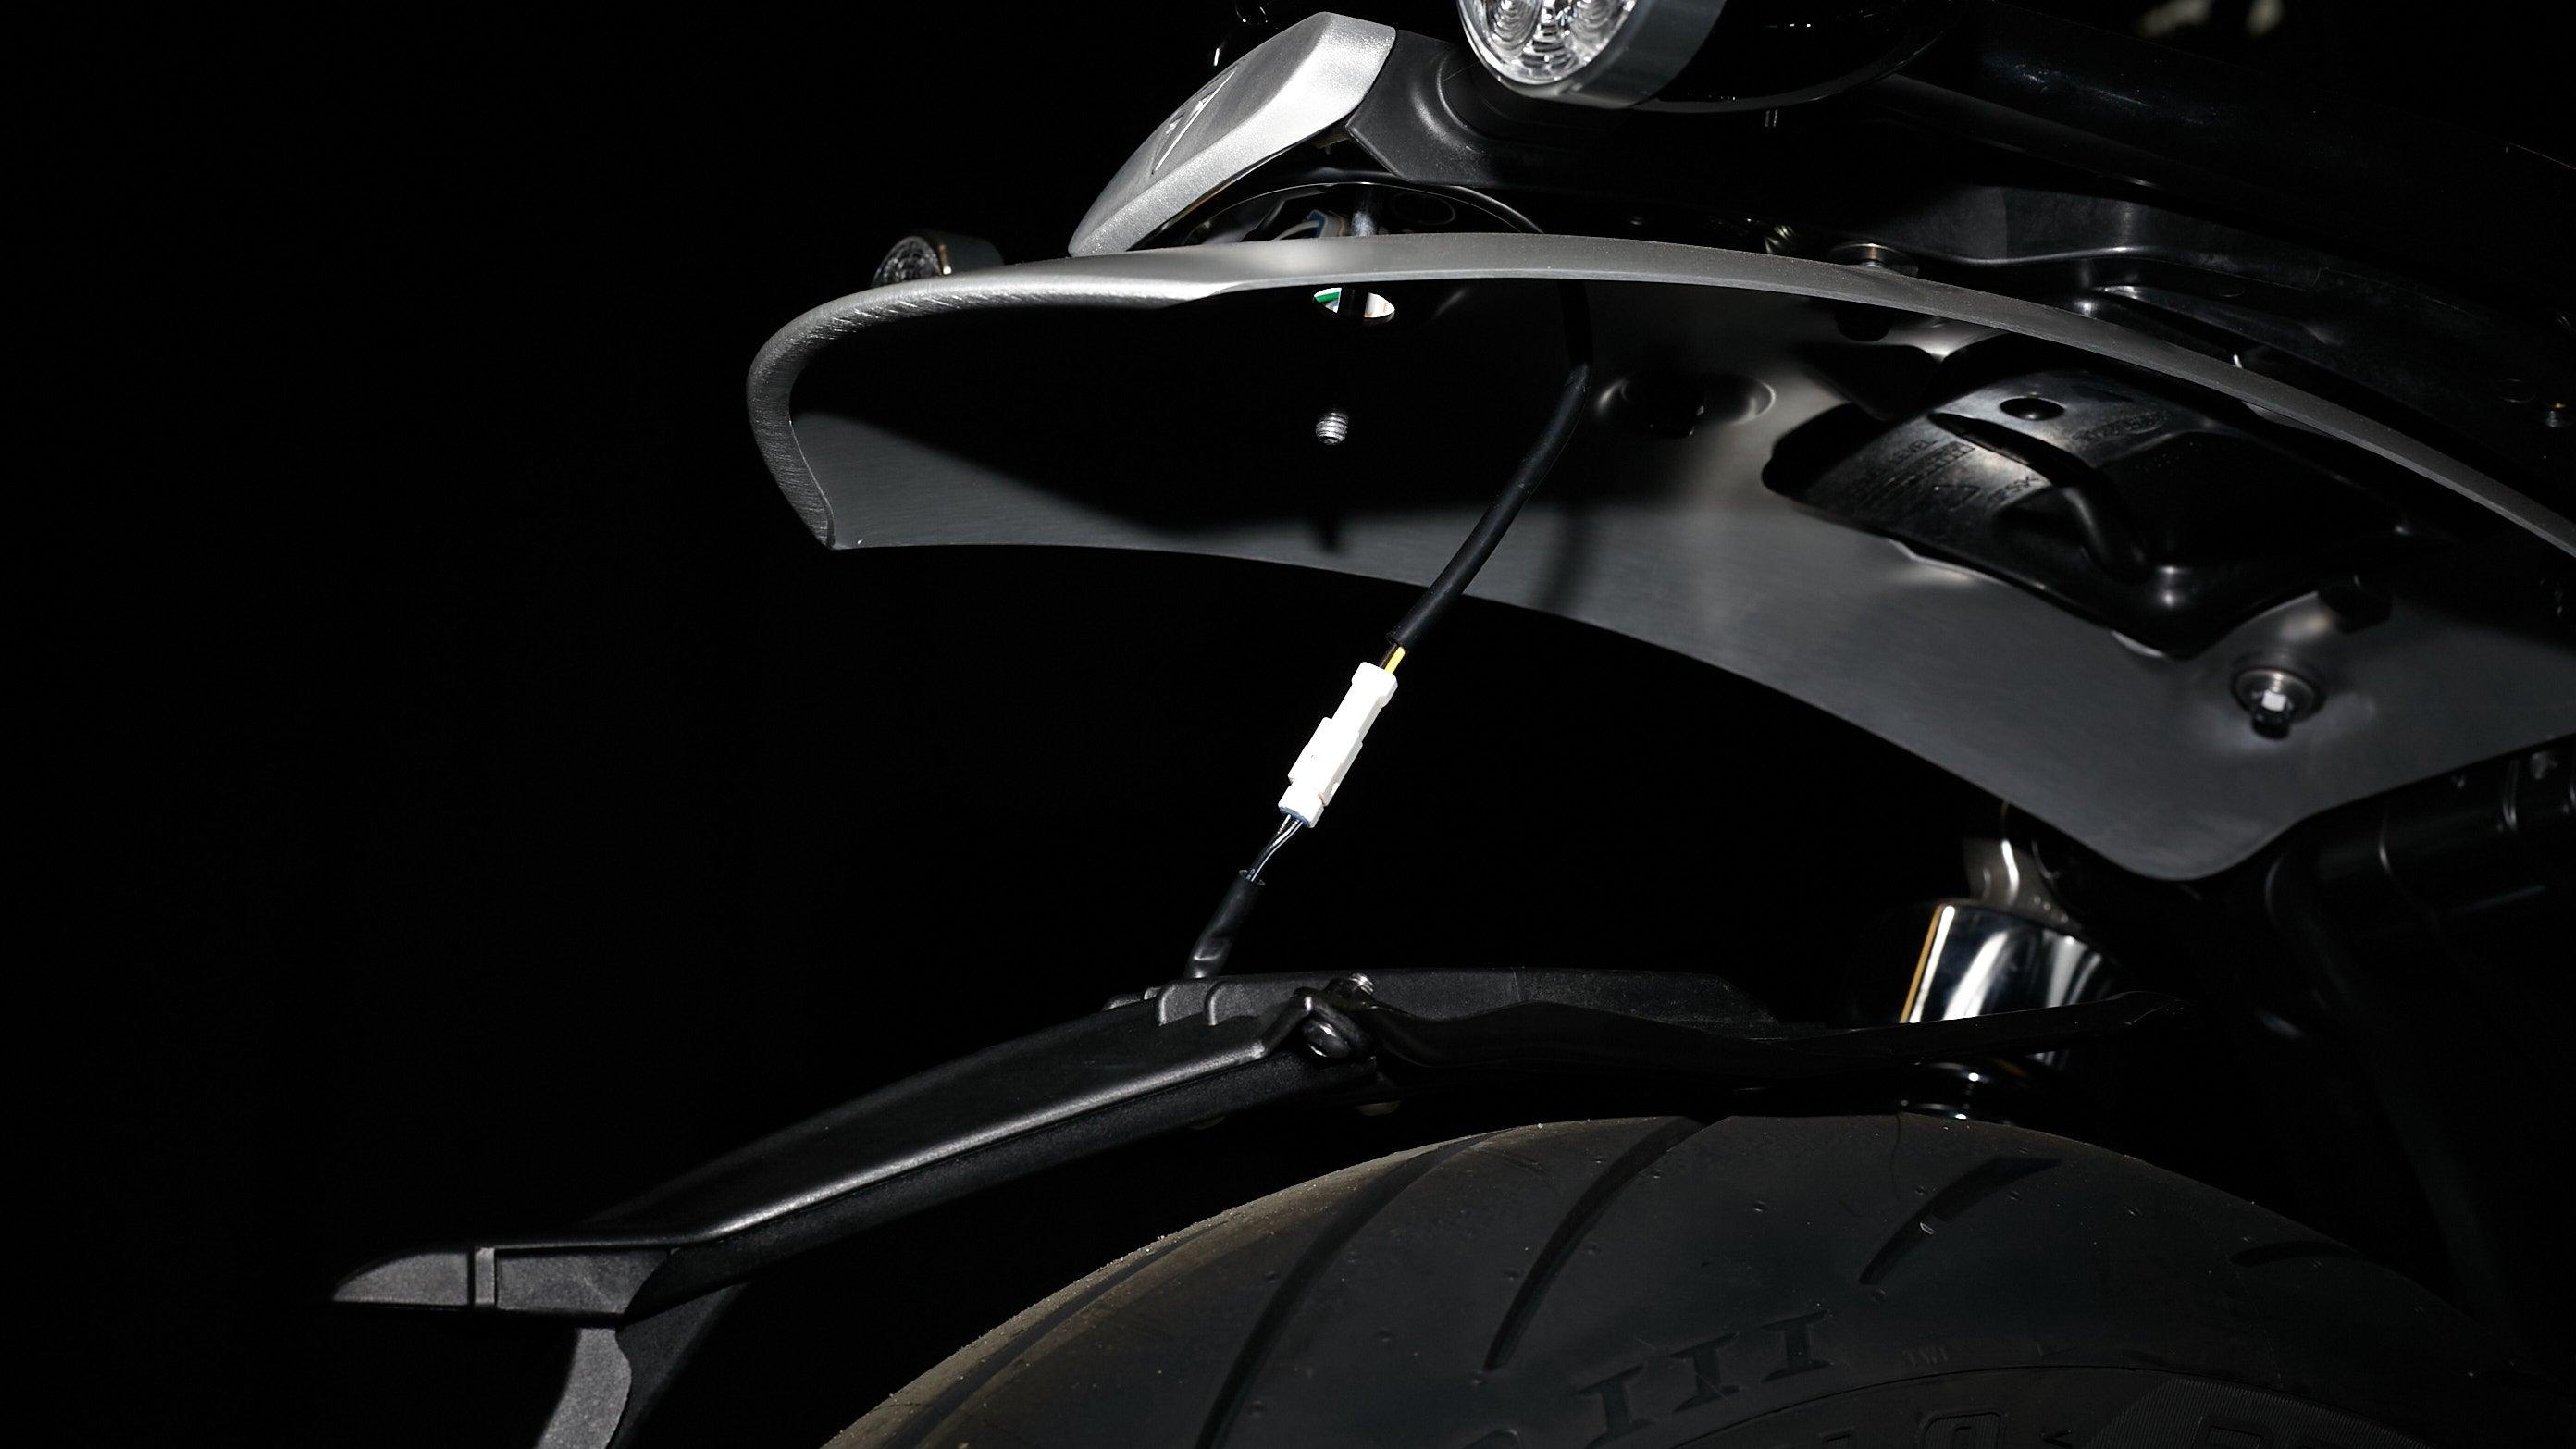
5. Route the License Plate Lite Connector to the backside of the metal plate.

6. Connect the license plate light to the main harness

7. Using an 8mm and 10mm tighten the (1) bolt and (1) nut that secures the metal plate to the fender and taillight assembly. Make sure to install the sleeve that was removed in step 4 of the How to Remove the License Plate Guide (see How to Remove License Plate Guide)


8. Using an 8mm socket tighten the (2) bolts that secure the fender to the frame

9. Using an 8mm and 10mm secure the (2) bolts and (2) nuts that secure the fender to the frame

10. Turn on the ignition and verify the license plate light is properly working. If there is an issue please verify the connection and check fuses. If the problem persists call 877-999-BRIT or email support@british-customs.com for support.

WARNING: Laws concerning this product vary from state/province to state/province. Your state/province may prohibit its use on public roads or restrict its use to novelty, who use, off-road areas, or race facility areas only. In some states/provinces, off-road uses are also prohibited. The manufacturer and retailer assume no responsibility for any use or application of this product in violation of any applicable law. Before installing this product check your state/province.


1 comment
Leave a comment
This site is protected by hCaptcha and the hCaptcha Privacy Policy and Terms of Service apply.