

Introduction to the How-To Series:
At British Customs, we understand that your Triumph motorcycle is more than just transportation—it's an extension of your personality. Our mission is to empower riders by providing innovative, high-quality, easy-to-install bolt-on parts that allow you to customize your motorcycle and truly make it your own. Our comprehensive How-To Series guides you step-by-step through the installation process, making it easy for riders of all experience levels to confidently personalize their bikes. Dive into these guides and transform your Triumph into a unique expression of your riding style and passion.
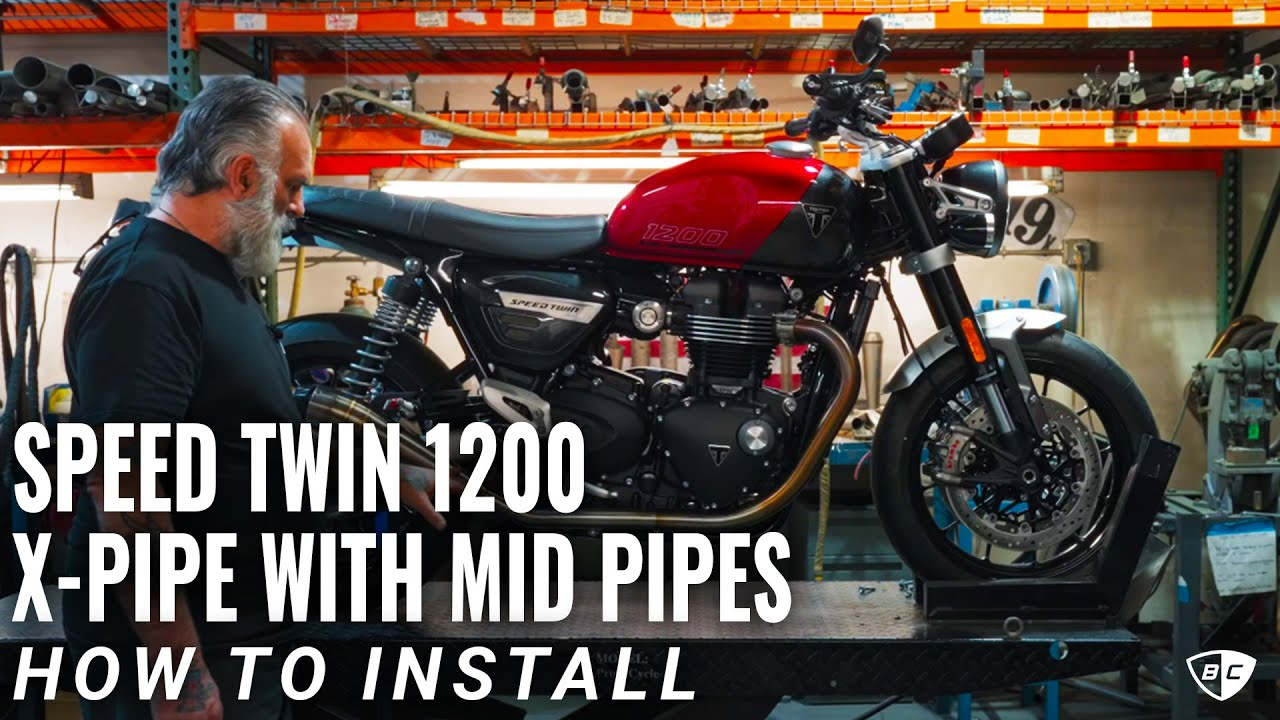
How do I install a Cat Delete X-Pipe on a 2024 Speed Twin 1200?
Installation Steps:
- Preparation: Ensure the stock exhaust system is removed and the frame is split on both sides.
- Frame Adjustment: Reassemble the frame partially, installing key bolts and torquing them to 40 Nm and 105 Nm as required.
- Removing Stock Components: Remove the rubber grommet from the stock catalytic converter and transfer it to the X-Pipe.
- X-Pipe Installation: Pre-install clamps, apply silicone spray, and slide the X-Pipe into place, ensuring proper alignment.
- Midpipe Installation: Adjust alignment and secure with included bolts, ensuring proper positioning.
- Frame Reassembly: Secure frame bolts while ensuring wiring is not pinched.
- Kickstand and Exhaust Alignment: Install and adjust components to avoid clearance issues.
- Header Pipe Installation: Align exhaust gaskets and secure pipes while ensuring a proper seal.
- Final Adjustments: Secure heat shields, reinstall the oil cooler bolt, and confirm fitment.
Troubleshooting:
If you encounter fitment issues during installation, please contact British Customs for assistance. Our experts are available Monday through Friday, 8 AM to 5 PM PST. You can reach us at +1 (877) 999-BRIT or via email at support@british-customs.com. For immediate support, our live chat is also available during business hours.
Video Demonstration:
This applies to the following part number:
- BC901-101-BR (Cat Delete X-Pipe for Triumph Thruxton RS & Speed Twin 1200)
Applies to Motorcycle Models:
- 2019 - 2024 Triumph Speed Twin 1200
- 2020 - 2025 Triumph Thruxton 1200 RS
Video Transcript:
00:00:21 hi I'm James with British Customs today I'm going to show you how to install an xpipe on this 2024 speed twin 1200 as you can see we already have the stock exhaust system removed um if you don't know how to do that then you want to go back and watch the video on how to remove your stock exhaust system but you want to stop towards the end of the video when we put the frame back together you don't want to do all that yet you want to install your xpipe so come back to this video watch that and then you'll see how to do
00:00:49 the rest of the frame from there so if you don't have a 2024 model um you might want to be watching a different video because this video is only for the uh Euro 5 style cats which have the welded on tailpipe section so if you have a cat that's like this uh was they changed them over maybe mid year 2022 not exactly sure the date but if yours are small like this and these pipes actually come off of there then this is not the video for you this is only for this style cat so so at this point this is what you should be looking
00:01:32 at your frame is split on both sides so to install the xpipe we really only need this side undone and this side we can put back together um just going to do that real quick if you want more clarity on it you can go back to the uninstall the stock exhaust video and it has it all in there a little more detailed maybe but we're going to put the Big Bolt in put the nut on the back that bolt is already installed put this one in the back here and then you're going to torque these bolts down you got 40 Newton M
00:02:12 here 40 new M up top and 105 new M on the Big Bolt also make sure that your PIN is aligned inside the rubber grommet on the cooler here otherwise you're going to have to probably take it apart again just to get it to line up so next thing we want to do here is we're going to remove this rubber grommet off of stock cat then we can get the cat out of there now we'll put it onto the xpipe next thing you want to make sure that your clamps when you pre-install them before putting it on the bike that
00:02:59 the heads are aiming this way where your PIN is basically what you're looking at is they're going to go this way the pin goes that way and they want to be sticking out towards the back of the bike so now actually we're going to spray a little silicone on there we'll help it get in there nice and easy and as you go in you just got to make sure you push it in far enough that we can get up to this point right there so now now want to put that stock bolt back in with a 12 mm socket tighten it up so next thing we want to do is
00:03:41 install our left midpipe so we're going to put that in and if this hole right here isn't lining up you just need to take the xpipe and move it a little bit like that and then get the bolt from the kit with the washer put the washer on and using your 6 mm Allen get that tightened up and now just for convenience with the frame out of the way we're going to tighten up the screw here so you could you could put the frame back together and tighten up later but it's a little difficult to get to this one and the other side too but now
00:04:36 we only have to have a problem with one so using your 5mm Allen bit tighten this up so so before you fully tighten it just want to make sure you're not too far in to the back there cuz then it won't tighten down on the on the pipe here so you want to make sure that you're right at the edge there where you can tighten it up but you don't want to have the other side of the slot exposed because you'll have a leak out of there so you want to kind of take a look at that and make sure you're covering the
00:05:27 slot but you're far enough out to clamp on the pipe okay nice and tight so now we want to get the frame together you want to make sure first thing that you align this peg into that grommet there and make sure in the back here that you're not pinching the wire to the kickstand switch you may have to pull up on that just to get it out of the way okay now we'll grab Our Big Bolt stick it in there to help us hold this up should come to the back I'm going to put the two bolts through here just get them started
00:06:36 into that double encapsulated nut then we going to get this bolt in up here and you don't want to push it all the way through so it would help if you stick your finger behind there and just push it that far and that'll hold up the frame then you can get the nut and slide that behind there and now you can turn it into the nut here's your 8 mm Allen help you get it started okay now you can get your 14 mm wrench back there there hold the nut your 8 mm Allen and we'll come back and torque it after we got the other ones
00:07:47 tight so now these two here with your 8 mm Allen can tighten them up okay now we can torque these ones [Music] down to 40 Newton m y again now we can tighten these down to 40 new M go tighten the one on the top again us in your 8 mm Allen 14 mm wrench tighten to 40 newon m now we can do do the Big Bolt here put the nut on the back with a 16 mm socket 17 mm wrench now we're going to torque this one down to 105 newon m I'm going to install the kickstand bumper again a little silicone spray help us get that in
00:09:41 there just push it through and if you just pry on the backside it'll help pull it through just make sure the kickstand is not hitting the the pipe so now we can get this switch back in place go plug I'm just using the screwdriver here to keep that from pushing down while I plug it back together now we can get it back in the channel here okay nice and neat now we put this back in place all right so before we put the pipe on you want to make sure that you got this in the down position here and then we also want to make sure
00:10:51 we have this spacer from the stock inserted in there and you're going to reuse your stock bolt and washer so now I'm going to slide that in put the bolt in make sure you have this washer on the back side because this is just a rubber grommet and if you try to tighten the nut without the washer it's just going to want to go right through the rubber get the n on the back there got 12 mm wrench 12 mm socket tighten that up so using a 5mm ball Allen bit and a long extension we can get in here you want to make sure
00:11:49 you're on a slight angle towards the back so that it comes up the frame gets it's thin here and then it gets thicker so you want to make sure it's going up above the frame not digging into the frame just got to be a slight angle we can tighten this up this one thing with ball allons that don't like is that they tend to slip you can't really get a square Allen into there that angle but that's nice and tight so now I just want to tighten this back one by hand so I know how tight it is and that's tight so now we'll move on to putting
00:12:43 the header pipe on so you just want to make sure it's angled there so it's not digging into the frame it might be touching it slightly but you know that you're getting it tight enough because it wasn't digging right in going to put our exhaust gasket on put a couple dots of Grease just enough to hold it in place until you get the pipe on so before installing the header you need to make sure you have this piece in place here the slotted side goes into the O2 sensor there if you put the pipe on first you won't be able to get this past
00:13:20 the exhaust stud coming out of there so best to do it now now we can just weave this in here make sure the bottom is making its way into the x pipe okay just Loosely put these nuts on just repeat that on the other side so you want to make sure you're getting your crossover in there and getting the xpipe aligned at the same time can be a little difficult at first but once they go in then the only other thing is make sure your exhaust studs I'm getting into the holes here okay now we can Loosely put our
00:14:52 nuts on here now if you watch the video on taking this exhaust exhaust off you'll remember we had to tap this over that way if you're having a real problem getting this on it might be that this is too far this way you need to tap it over that way which gives you the room to swing in there it it's not a very super easy job getting all this together at the same time so just don't get frustrated with it keep going you'll get it but that's one of the biggest things right there is to make sure that that's pushed in and
00:15:29 now we got to go over there and push it back before we tighten it down so now you just want to tap this back over and make sure the gasket on this side is going with it if you don't push the gasket with it you're going to have a hard time getting the gasket into it so that should pretty much do it right there so now just need to get our 8 mm ratcheting wrench in there tighten these up you're don't have to make them crazy tight just tight enough to seal you can always snug it up a little bit if if you
00:16:31 feel that there's a little leak there or something but these gasket to seal pretty good okay okay so now the 12 mm deep socket tighten up flange bolts do the same on the other side now we're going to put our midpipe heat shield on you see that little Groove in there this pin wants to get behind that so you come in on an angle like that and then we slide it over push it forward and we have our clip here with which you can see on this it clips into that little slot that's on the top so just come in from
00:18:07 behind get it onto that slot then using your 5 mm Allen bolt Allen bit going to screw the bolt in and tighten it down and we'll do the same thing on the other side okay I just want to install the bolt for the oil cooler make sure that that Top Hat spacer is in there it's very important with our 8 mm socket just tighten that up so that's it for our xpipe and midpipe install on this 20204 speed twin 1200 uh everything fits like stock over here so if you want to put your stock Mufflers back on feel free to do that or you can
00:19:42 go pick out a set of slip-ons that we have in stock and put them on and check out our video on how to install them so thanks for watching
Leave a comment
This site is protected by hCaptcha and the hCaptcha Privacy Policy and Terms of Service apply.