WARNING
The how-to guide is proved for information purposes only. The guide assumes you have general mechanical knowledge and have the ability to remove and replace components on your motorcycle. If you have any questions or are not comfortable doing the work contact a professional mechanic. Keep all stock parts from your existing system as some components may be necessary to install your new British Customs Products depending on the application.
Read through the guide prior to beginning to remove any components. Always properly support the vehicle with a stand and/or lift when servicing or performing any work. Unstable vehicles my present dangerous conditions and may cause property damage and/or personal injury.
STEP BY STEP GUIDE
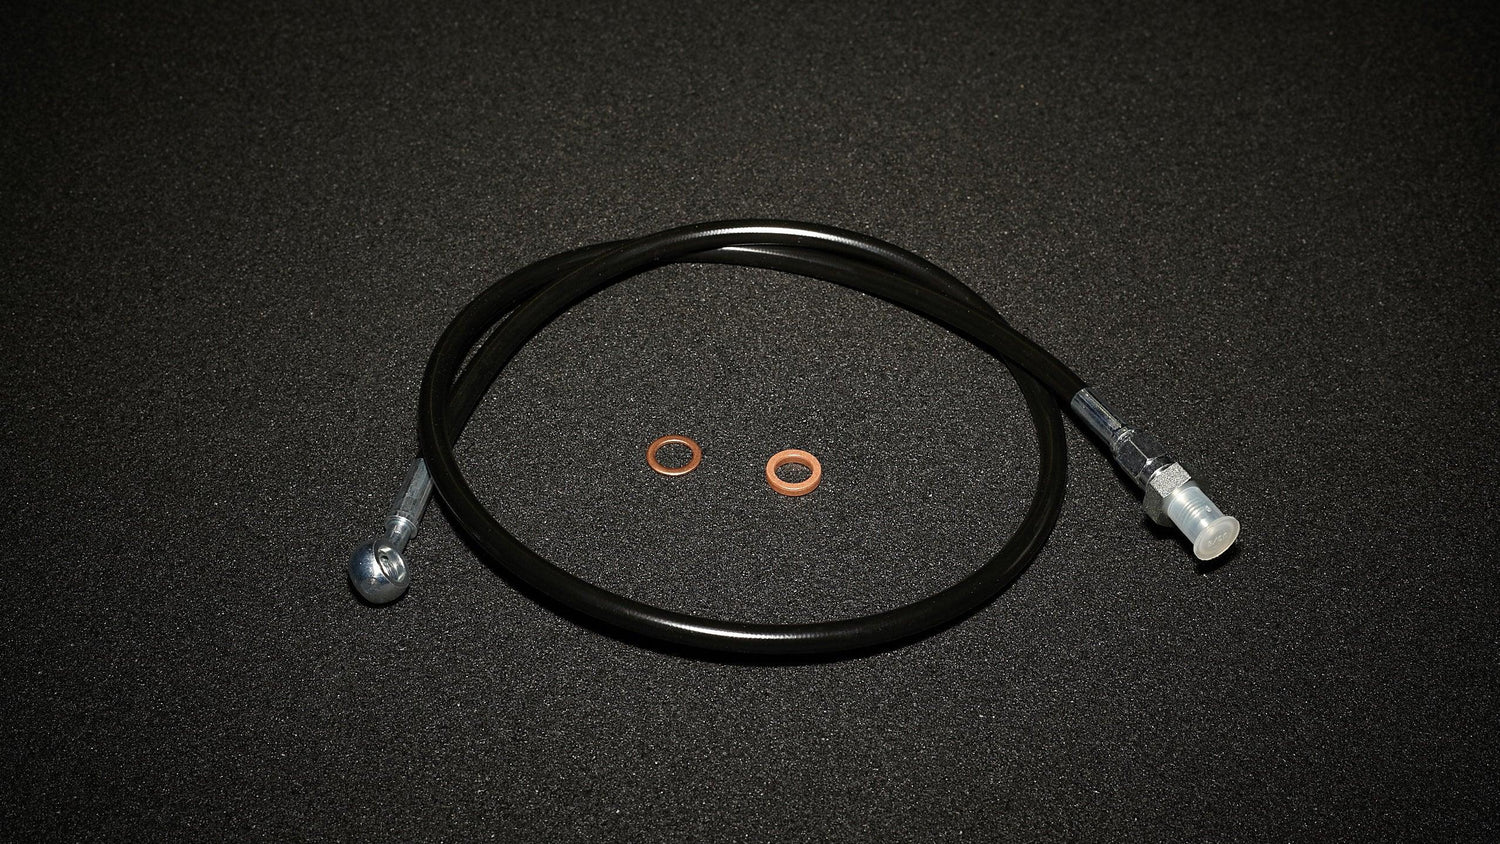
1. Supplied with the BC ABS Brake Line is two copper crush washer. Install the thicker of the two washers on to the ABS Unit.


2. Install the thinner crush washer on to the banjo bolt and install the banjo bolt and copper crush through the brake line and hand tighten into the ABS Unit.

3. Route the BC ABS Brake Line and secure to the to the factory mounting clips, located on the airbox.
Note: Route the BC Brake line (see notes from the removal of the factory brake line)

4. Route the BC ABS Brake Line and secure the mounting clip, located on the right side of the frame.

5. Route the BC ABS Brake Line inside the frame and along the backbone of the frame and secure it to the factory mounting clip.

6. Tighten the ABS Banjo bolt and torque to 25 Nm.

9. Install Air Box (see How to Install the Air Box)
10. Install Swingarm (see How to Install the Swingarm)
11. Install Rear Wheel (see How to Install the Rear Wheel)
12. Install Chain Guard
13. Install the Rear Mudguard
14. Install the Left & Right Side Panels
15. Install the Gas Tank (see How to Install the Gas Tank)
16. Reconnect the battery, (+) red lead fist and tighten terminals to 4.5 Nm
17. Install the Seat.


1 comment
Leave a comment
This site is protected by hCaptcha and the hCaptcha Privacy Policy and Terms of Service apply.